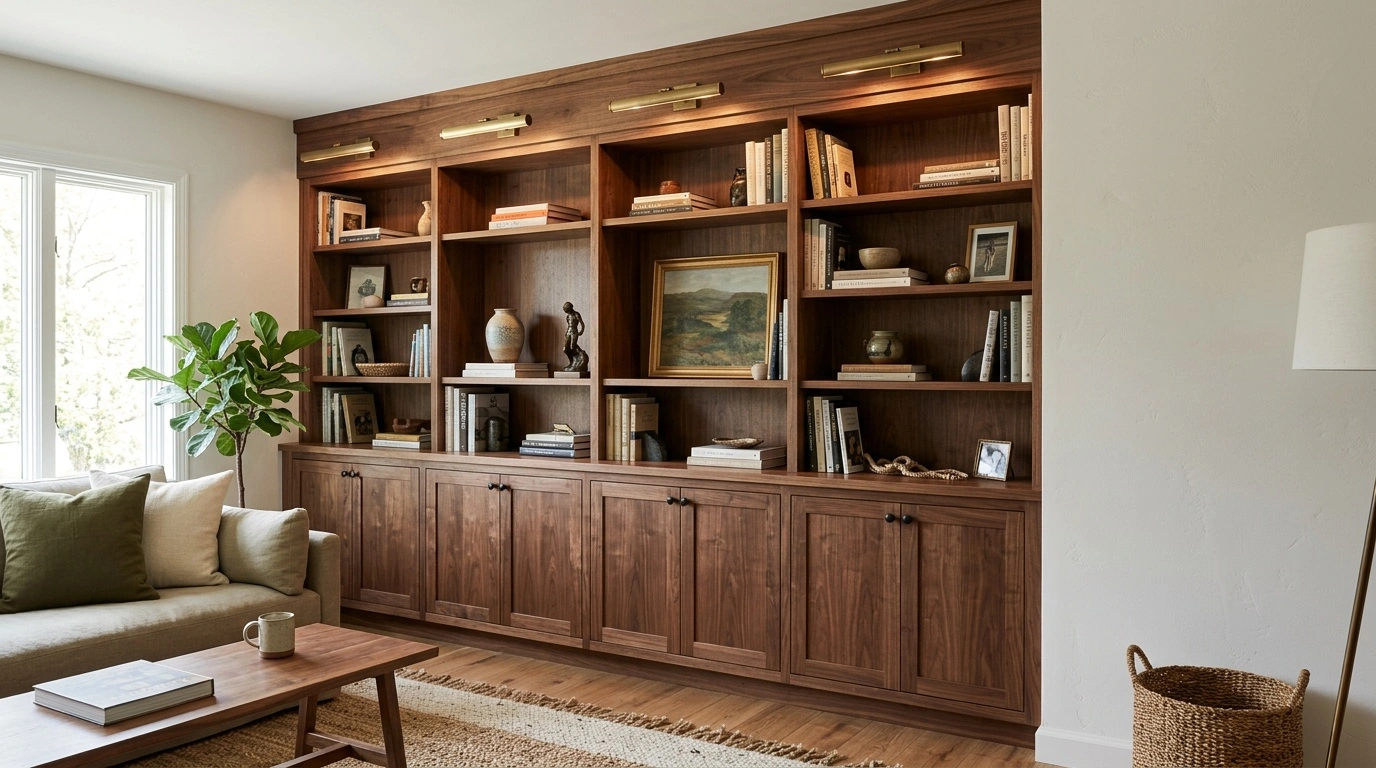
A cabinet maker’s picture light brings focused illumination to artwork, shelving, and carefully made interiors. Its slim form keeps attention on the objects below rather than the fitting itself.
How to choose a cabinet maker’s picture light
Start with the width of the artwork or cabinet section you want to illuminate. A light measuring about half to two-thirds of that width usually creates balanced coverage.
Next, check the projection from the wall. A deeper frame or cornice may require a longer arm so the shade clears the surface. The arm should also let you direct light toward the centre of the display.
Select the right finish
Choose a finish that relates to nearby cabinet hardware without matching every detail. Aged brass suits warm woods and traditional joinery, while bronze or black provides firmer contrast.
Polished metals reflect more ambient light and can look formal. Living finishes change through handling and exposure, so expect them to develop marks and tonal variation.
Check the light source
Use an LED lamp with a high colour rendering index, ideally 90 CRI or above. This helps paint, timber, textiles, and printed work retain accurate colour.
For warm interiors, a colour temperature between 2700K and 3000K works well. Avoid lamps with a narrow, harsh beam because they can create bright spots across glass or varnish.
Plan the position and beam angle
Mount the fitting above the frame or display area, then angle the shade toward its centre. Keep the light source out of the viewer’s direct line of sight.
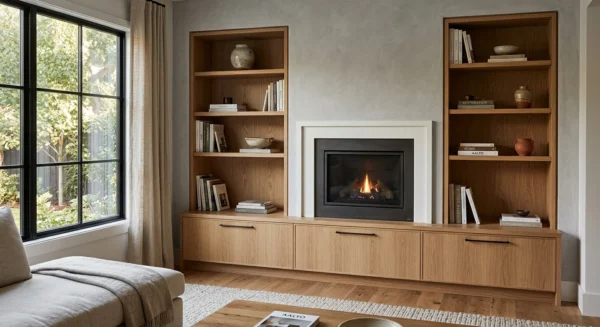
A cabinet maker’s picture light can also sit above open shelving or a glazed cabinet. In that setting, check for reflections before drilling or fixing the backplate.
Control glare on framed art
Glass creates glare when the lamp points straight at it. Adjust the arm and shade until the beam reaches the work at a shallow angle.
Matte glass or museum-grade glazing can reduce reflections further. A dimmer also gives you more control during the evening, when surrounding light levels fall.
Confirm installation requirements
Hardwired fittings create a clean appearance, but they require a suitable electrical connection. Ask a qualified electrician to confirm cable routes, wall construction, and local regulations.
Some models use replaceable bulbs, while others contain integrated LEDs. Check the expected lamp life, dimmer compatibility, and replacement options before buying.
Use picture lighting without harming artwork
LEDs produce less heat and ultraviolet radiation than traditional incandescent lamps. Even so, light exposure can fade sensitive paper, fabric, and pigments over time.
Keep valuable or fragile pieces away from prolonged, intense illumination. Use lower output levels and switch the fitting off when you do not need it.
A practical finishing detail
The right cabinet maker’s picture light should provide even coverage, manageable glare, and accurate colour. Careful sizing and positioning matter more than decorative impact alone.
Before installation, test the proposed height and angle with a temporary light source. That simple check can prevent uneven lighting and unnecessary holes in finished walls or cabinetry.