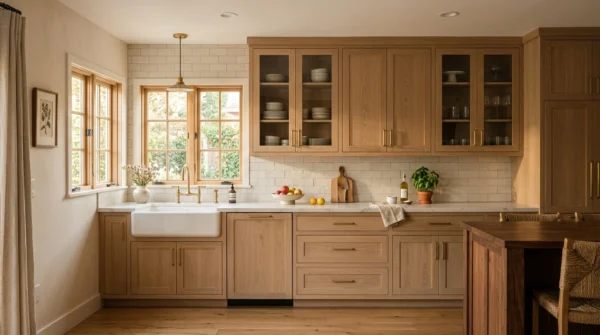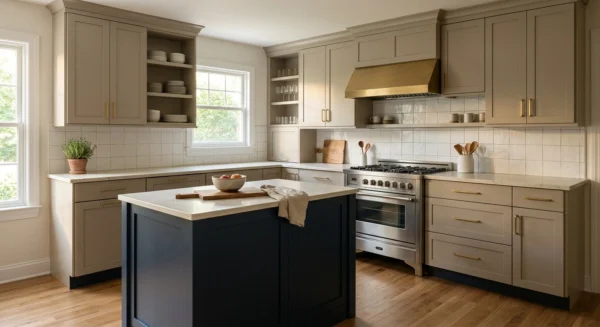
This Basic Cabinet Making Guide explains how to build a straightforward plywood base cabinet. It is a practical first project for learning how cabinet parts fit, stay square, and carry weight. You should already know how to use a circular saw or table saw and a drill safely.
Plan one full weekend to build the cabinet box and another day for sanding and finishing. Drying may take several additional days. Some waterborne finishes require up to 30 days to cure fully.
One person can assemble a small cabinet. However, a helper makes plywood handling and square checks safer. This project covers a 24-inch-wide base cabinet with an adjustable shelf and purchased overlay doors.
The same box-building methods apply to wall cabinets, vanities, pantry units, and wider base cabinets. Build the carcass accurately before adding doors, drawers, hardware, or trim. Those parts cannot correct a twisted cabinet.
Basic Cabinet Making Guide: Start With the Box
A standard kitchen base cabinet measures 34.5 inches tall and about 24 inches deep. A typical countertop raises the finished work surface to approximately 36 inches. Most manufactured cabinets include a 4.5-inch-high toe kick recessed about 3 inches from the front.
Standard cabinet widths usually increase in 3-inch increments from 9 to 48 inches. However, you can build a shop-made cabinet to nearly any practical width.
For this project, make a 30-inch-high plywood box. Then place it on a separate 4.5-inch-high toe-kick platform. A separate platform is easier to level than sides with toe-kick notches.
Your back design determines the exact carcass depth. An applied back, recessed back, and captured back each affect the final measurement differently. Draw the side view before cutting, and keep the completed cabinet near the standard 24-inch nominal depth.
| Part or clearance | Common dimension | Why it matters |
|---|---|---|
| Finished base cabinet height | 34.5 inches | Creates a countertop height of about 36 inches with a typical top |
| Base cabinet depth | 24 inches nominal | Fits common countertop and appliance layouts |
| Toe kick | About 4.5 inches high and 3 inches deep | Provides foot room while you stand at the counter |
| Wall cabinet depth | 12 to 13 inches | Keeps upper cabinets from crowding the work surface |
| Common wall cabinet heights | 30, 36, and 42 inches | Accommodates different ceilings and trim arrangements |
| Counter-to-upper gap | Usually 18 inches | Leaves workspace and room for small appliances |
| Typical cabinet widths | 9 to 48 inches in 3-inch increments | Coordinates cabinets with standard appliances and room layouts |
Choose Cabinet Materials That Stay Flat
Use 3/4-inch cabinet-grade plywood for the sides, bottom, shelf, and structural stretchers. Choose flat sheets with hardwood face veneers and few internal voids. Maple and birch plywood work well for painted or clear-finished interiors.
Plywood contains cross-laminated veneer layers. Particleboard contains compressed wood particles. The materials behave differently, even when both come in nominal 3/4-inch sheets.
MDF has a smooth, uniform surface that accepts paint well. However, it is heavy and swells when water reaches an unsealed edge. It can work for painted doors or applied panels, but plywood better tolerates beginner mistakes.
Use 1/4-inch plywood for the back and 3/4-inch stretchers at the top. The back helps hold the box square. The stretchers provide solid fastening points for the countertop.
Purchased doors simplify a first cabinet because hinge boring and door sizing require close tolerances. If you later make frame-and-panel doors, let the solid-wood panel float in the frame grooves. Glue the rail-and-stile joints, but never glue the panel inside its grooves.
Cabinet-Making Tools and Materials
- Sheet goods: 3/4-inch cabinet-grade plywood for the sides, bottom, shelf, and stretchers; 1/4-inch plywood for the back
- Base material: Straight plywood strips for a separate 4.5-inch-high toe-kick platform
- Doors: Two correctly sized overlay doors, or one door for a narrower cabinet
- Hinges: Concealed hinges that match the door overlay and cabinet construction
- Fasteners: Cabinet or woodworking screws suitable for the selected joinery, plus specified hinge screws
- Adhesive: Interior woodworking glue, such as Titebond Original Wood Glue
- Edge treatment: Iron-on wood veneer edge banding or solid-wood edging
- Finish: Waterborne cabinet enamel, waterborne clear finish, or another cabinet-rated coating
- Measuring tools: Tape measure, combination square, long straightedge, calipers, and pencil
- Cutting tools: Table saw or circular saw, straightedge guide, and sharp plywood blade
- Assembly tools: Drill/driver, drill bits, countersink, clamps, and rubber mallet
- Layout tools: Shelf-pin jig and a matching drill bit for an adjustable shelf
- Finishing tools: Random-orbit sander, sanding block, vacuum, microfiber cloths, brush, and suitable roller
- Safety equipment: Eye protection, hearing protection, and a properly fitted N95 respirator
Plan the Cabinet Before Cutting
Make a dimensioned drawing that shows front, side, and top views. Decide how the bottom joins the sides before calculating part sizes. A bottom fitted between the sides will differ from one placed beneath them.
Measure the actual plywood thickness with calipers. You can also stack clean offcuts and measure the combined thickness. Material sold as 3/4 inch may not measure exactly 0.750 inch.
For a 24-inch-wide cabinet, subtract both side thicknesses from 24 inches. The result gives you the bottom width when the bottom fits between the sides. Use the verified inside width for the top stretchers.
Make the adjustable shelf slightly narrower than the interior opening. A small clearance allows easy installation and removal. Confirm your joinery, back arrangement, door overlay, and final depth before using any cut list.
Place the fixed bottom near the lower edge of the carcass. Use stretchers instead of a solid top in the upper area. A full top adds weight and may obstruct sink or cooktop installations.
Mark each part as soon as you cut it. Identify the front edge, inside face, top, and cabinet location. Place pencil marks where the finished cabinet will hide them.
How to Build the Base Cabinet
-
Make a cutting diagram. Draw every side, bottom, stretcher, shelf, back, and toe-kick part on a sheet layout. Confirm that the calculated widths produce the intended outside dimension.
Check: Make sure the chosen back treatment does not increase the planned cabinet depth.
-
Break down the plywood. Cut oversized sections first. Then trim each cabinet part to its final dimensions with a table saw or guided circular saw.
Check: Stack matching parts with the edges flush. They should show no visible differences in length, width, or squareness.
-
Label the parts. Mark each panel’s inside face, front edge, top, and position. Keep the marks light and place them in concealed areas.
Check: Point the best veneer faces toward the visible interior. Align all matching front edges in the same direction.
-
Drill the shelf-pin holes. Clamp a shelf-pin jig to each side panel. Reference the jig from the same edge on both panels.
Check: Compare paired holes with a square. The left and right shelf pins must support the shelf at equal heights.
-
Cover exposed plywood edges. Apply iron-on veneer or glued solid-wood edging to visible front edges. Trim it carefully without cutting through the face veneer.
Check: Run a fingertip across each joint. The edging should sit flush without ridges, dips, or open gaps.
-
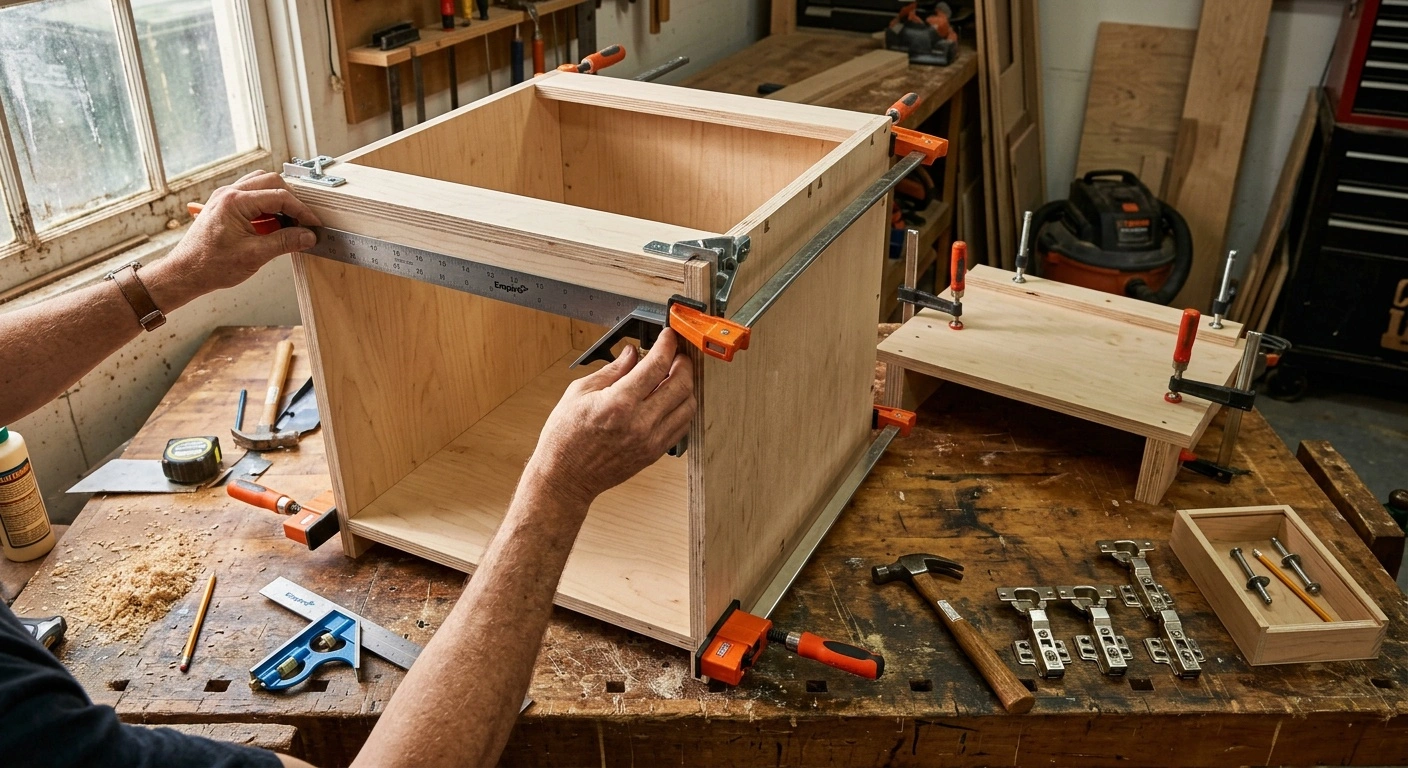
Dry-fit the carcass. Clamp the sides, bottom, and top stretchers together without glue. Confirm the outside width and planned fastener locations.
Check: Compare the two corner-to-corner diagonal measurements. Equal diagonals indicate a square rectangular box.
-
Assemble the carcass. Spread a thin, continuous layer of wood glue over each structural joint. Clamp the parts and drive suitable woodworking screws without stripping the plywood.
Check: Close every joint tightly. Keep the screw heads flush or slightly recessed, then compare the diagonals again.
-
Attach the back. Adjust the cabinet until its diagonal measurements match. Fasten the 1/4-inch plywood back around the perimeter and into any designed rear support.
Check: Remove the clamps and test the box. It should remain square and resist racking under light corner pressure.
-
Build the toe-kick platform. Assemble a rectangular base that measures 4.5 inches high. Size it to create a toe recess of about 3 inches.
Check: Set the platform on a flat surface. It should not rock, and its diagonal measurements should match.
-
Fit the shelf and doors. Trim the shelf for easy removal. Install the overlay doors according to the hinge maker’s boring and mounting instructions.
Check: Rest the shelf on all four pins. Confirm that the doors open freely and maintain an even center reveal.
-
Sand and finish the cabinet. Sand only enough to remove machining marks and rough fibers. Vacuum thoroughly before applying the selected coating.
Check: Look for bare edges, trapped dust, ridges, uneven sheen, and visible sanding scratches after each coat dries.
Control Dust and Apply Finish Safely
Cutting plywood and sanding veneer create fine dust. Use dust collection, ventilate the work area, and wear a properly fitted N95 respirator. A loose nuisance-dust mask does not provide suitable protection during heavy sanding.
Plywood face veneer can be thin. Start with a moderate abrasive and use light pressure. Aggressive sanding can expose the core beneath the decorative layer.
If you spray a finish, follow the coating manufacturer’s safety data sheet. Use respiratory protection that matches the product. An N95 filters particles but does not protect against solvent fumes.
Solvent finishes and strippers may require an organic vapor cartridge respirator. Keep ignition sources away from flammable products. Never spray in an occupied kitchen where overspray can reach food, dishes, appliances, or HVAC returns.
Waterborne cabinet finishes may feel dry within hours but need much longer to cure. Some products require up to 30 days. During that period, avoid hard scrubbing, adhesive bumpers, and objects leaning against the finish.
Oil-soaked rags can self-heat and catch fire. This risk applies to linseed oil, tung oil, Danish oil, and similar products. Spread rags flat outdoors away from buildings, or store them underwater in a sealed metal container.
Fit Doors, Hinges, and Shelves
Overlay doors sit in front of the cabinet box or face frame. Inset doors fit inside the opening with even gaps on all four sides. Overlay construction better tolerates small variations in box and door size.
Inset doors require square openings, consistent reveals, and allowances for seasonal wood movement. Those demands make inset construction a poor choice for a first cabinet.
Concealed hinges are not universal. Manufacturers design them for frameless or face-frame cabinets and specific door positions. Those positions include inset, partial overlay, and full overlay.
Buy the hinges before ordering or making the doors. Follow the manufacturer’s boring diagram for cup depth, setback, and mounting-plate location. Do not assume that different hinge models use identical measurements.
Level and square the cabinet before adjusting its hinges. Most concealed hinges provide height, side-to-side, and depth adjustments. Use those controls to correct an uneven reveal before considering new holes.
Set the adjustable shelf slightly behind the doors. This clearance prevents the shelf from rubbing against hinge arms or door backs.
Common Beginner Cabinet-Making Mistakes
A common mistake involves measuring every repeated part separately. Small layout errors can accumulate from one part to the next. Cut paired sides and stretchers from the same saw setup whenever possible.
Do not assume that plywood sheets have square corners or exact nominal thicknesses. Check the material before calculating joinery. A small thickness difference can change the finished cabinet width.
Many beginners also assemble the box without checking its diagonals. Four tight corners do not guarantee a square cabinet. A parallelogram-shaped box will cause crooked doors and binding drawers.
Use the back to lock the carcass square. Do not attach it after the box has already twisted. Recheck both diagonals immediately before fastening the back.
Apply a thin, continuous film of glue to each structural joint. Too much glue creates unnecessary cleanup, while too little can leave dry areas. Remove squeeze-out before it hardens, especially on surfaces that will receive stain.
Use cabinet screws or woodworking screws that suit the selected joint. Ordinary drywall screws are brittle and unsuitable for structural cabinet assembly.
Do not rush the finishing process. Follow the coating maker’s drying, sanding, and recoat instructions. A finish can feel dry while remaining soft beneath the surface.
Install the Cabinet Safely
Set and level the toe-kick platform before placing the cabinet. Shim it from front to back and side to side. Position shims at fastening points so screws cannot bow the cabinet sides.
Fasten connected cabinets to one another before securing the full run to the wall. Locate the wall studs and use proper cabinet installation screws. Do not rely on drywall or ordinary drywall screws.
Shut off power and water before working near electrical or plumbing connections. Shut off gas before working near a gas appliance or line. Hire an appropriately licensed professional to move or add these services.
Wall cabinets need stronger support because loaded units can carry several hundred pounds. Mark the studs and install a level temporary ledger board. Then drive cabinet screws through structural hanging rails and into the studs.
Drywall anchors cannot replace fastening into structural framing. Upper-cabinet installation also requires two people, even when the empty box feels manageable.
Know When to Hire a Professional
A square plywood base cabinet with shelves suits a careful weekend woodworker. Drawer banks, inset doors, curved cabinets, and integrated appliance panels require tighter tolerances. Tall pantry runs also demand more planning and specialized tools.
A sink base introduces water supplies, drains, waterproofing concerns, and countertop openings. For that reason, it is not the best first cabinet project.
Call a professional when walls conceal uncertain wiring or plumbing. Professional help also makes sense when floors slope severely or stone spans a long unsupported distance. Never alter structural framing, gas lines, circuits, or water lines without the required expertise and permits.
A cabinetmaker can also solve difficult finish details. These include fitted scribes, crooked walls, crown molding, appliance clearances, and aligned finished end panels.
Build Accuracy Before Complexity
The goal of a first cabinet is accuracy, not speed. Focus on producing flat panels, a square box, tight joints, and consistent door reveals. Once you can repeat those results, drawers and shop-made doors become sensible next projects.
Treat this Basic Cabinet Making Guide as a foundation for more advanced work. Keep the first build simple enough to trace each result back to a specific cut, joint, or adjustment.