Embarking on a DIY cabinet installation journey is an exciting endeavor that allows you to bring your vision to life and create a space that reflects your style and personality. While the thought of installing cabinets yourself might seem a bit daunting, with the right tools, preparation, and a bit of guidance, you can achieve professional-looking results that you can be proud of. This comprehensive guide is designed to provide you with tips, tricks, step-by-step instructions, and safety precautions to ensure a successful and satisfying cabinet installation experience.
The Importance of Proper Cabinet Installation
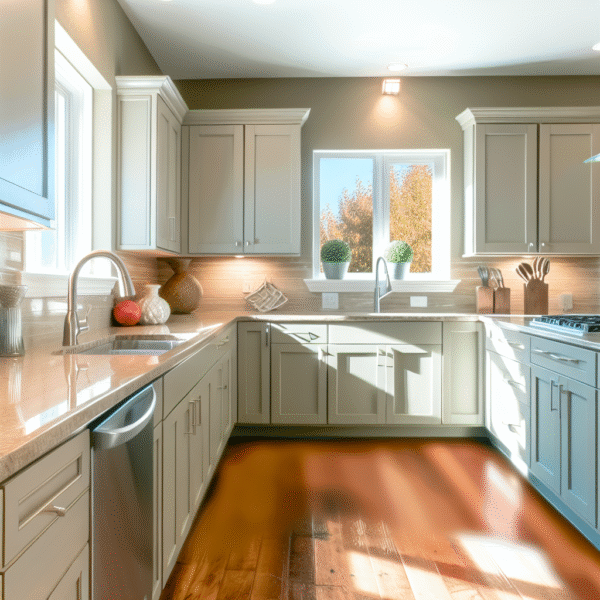
Proper cabinet installation is not only about aesthetics but also about functionality and longevity. Well-installed cabinets provide a solid foundation for your space and ensure that doors and drawers operate smoothly, maintaining their structural integrity for years to come.
Tools and Materials: The Building Blocks
Before diving into the installation process, gather the necessary tools and materials to ensure a seamless experience. Some of the essential tools include a measuring tape, level, drill, screws, screwdriver, shims, and a saw. Additionally, make sure to have the appropriate safety gear, such as gloves and safety glasses, to protect yourself during the installation process.
Step-by-Step Cabinet Installation: Navigating the Process
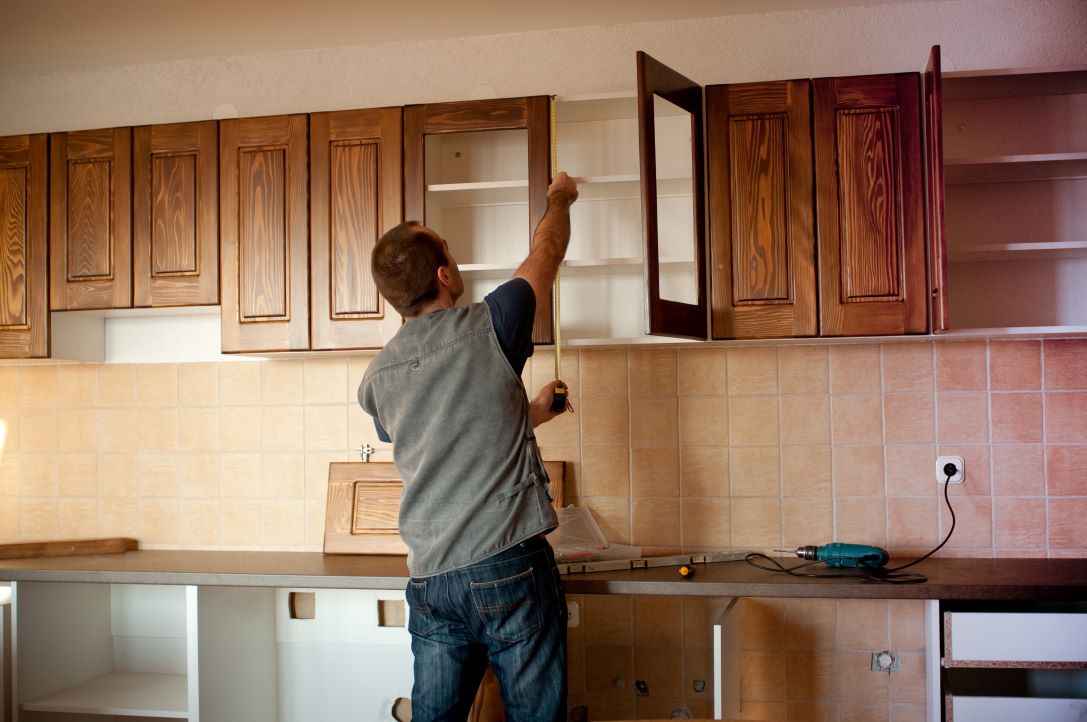
- Planning and Measurement: Measure the space accurately and mark the layout of your cabinets on the wall. This step is crucial to ensure that your cabinets are level and properly aligned.
- Locate Wall Studs: Use a stud finder to locate the wall studs behind the drywall. Attaching cabinets to wall studs provides the necessary support for the weight of the cabinets and their contents.
- Mark Cabinet Placement: Mark the placement of the cabinets on the wall, ensuring that they are level and align with your measurements.
- Pre-Drill Holes: Pre-drill holes into the cabinet backs for the screws that will attach them to the wall. This step prevents the wood from splitting during installation.
- Attach Cabinets to Wall: With the help of a partner, lift the cabinet and secure it to the wall studs using screws. Make sure the cabinets are level and aligned properly.
- Install Cabinet Doors and Drawers: Once the cabinets are in place, install the doors and drawers according to the manufacturer’s instructions.
- Secure Adjacent Cabinets: If you’re installing multiple cabinets, secure adjacent cabinets to each other using screws through the cabinet face frames.
- Adjustments and Leveling: Use shims to adjust the cabinets as needed to ensure they are level and aligned correctly.
- Finishing Touches: Install hardware, such as knobs and pulls, and make any necessary adjustments to ensure that doors and drawers operate smoothly.
Safety Precautions: Prioritizing Your Well-Being
Safety should always be a top priority during any DIY project. When installing cabinets, keep the following safety precautions in mind:
- Protective Gear: Wear appropriate safety gear, including gloves and safety glasses, to prevent injuries while handling tools and materials.
- Ladder Safety: If you need to use a ladder, ensure that it’s stable and positioned on a flat surface. Avoid overreaching to prevent falls.
- Electrical Awareness: Be cautious when using power tools near electrical outlets and wires. Make sure to disconnect power if necessary.
- Tool Handling: Use tools according to their intended purpose, and follow proper handling procedures to prevent accidents.
Your DIY Cabinet Success Story
Installing cabinets yourself is a rewarding journey that allows you to contribute to the creation of your space. By following these tips, step-by-step instructions, and safety precautions, you can confidently tackle cabinet installation and achieve the results you envision. Remember that patience, attention to detail, and proper planning are key ingredients for a successful DIY cabinet installation project. So, roll up your sleeves, gather your tools, and watch as your vision takes shape with each cabinet you install. Your DIY cabinet success story is about to unfold, and the satisfaction of a job well done will be the ultimate reward.