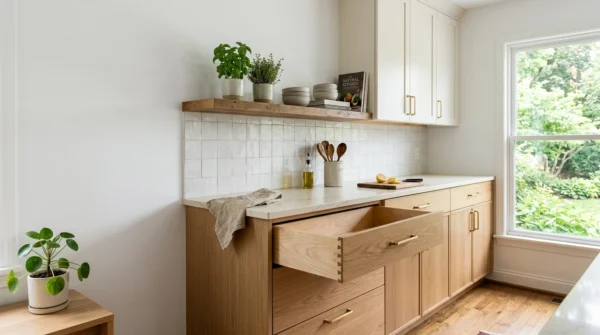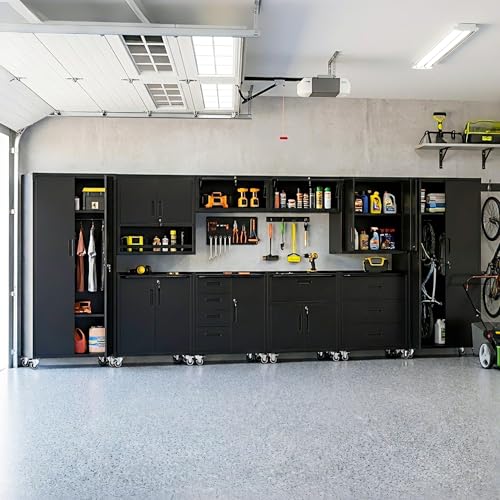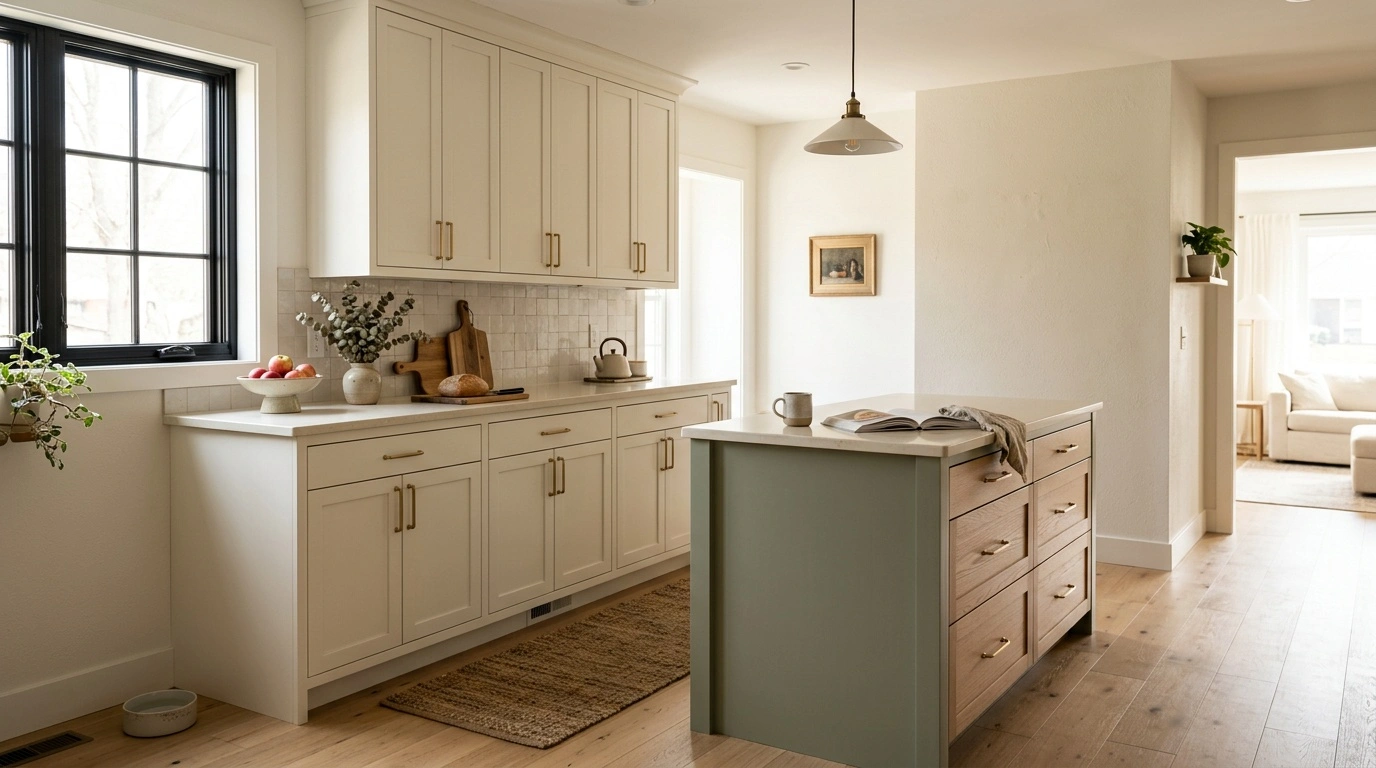
Latest Kitchen Cabinet Trends favor clean door profiles, warm wood, muted color, and storage that keeps counters clear. Most update established cabinet styles rather than introduce entirely new forms. Shaker doors evolved from practical Shaker furniture, while today’s slim versions use narrower rails and stiles. Slab doors draw from modernist cabinetry, and inset doors follow traditional furniture construction.
Use a basic full-overlay Shaker door as the cost benchmark. Laminate or thermofoil slabs may cost less, while slim wood or painted doors usually cost more. Inset cabinetry carries the highest premium because cabinetmakers must fit every opening and reveal accurately. Standard overlay doors conceal most of the frame, tolerate small box variations, and simplify installation.
The strongest designs place current colors or hardware over sound construction. Avoid spending heavily on decorative details that will prove difficult to replace later. This approach matters when a kitchen needs to last 15 years or more.
Latest Kitchen Cabinet Trends That Are Holding Up
Useful trends improve proportions, storage, or material quality instead of adding decoration alone. Slim Shaker doors, natural wood, restrained paint colors, and slab fronts meet that standard when they suit the house.
These styles also work with standard cabinet dimensions. Base cabinets usually measure 34.5 inches high and 24 inches deep. A countertop brings the finished height to about 36 inches. Wall cabinets generally measure 12 to 13 inches deep, with common heights of 30, 36, and 42 inches.
Installers typically leave 18 inches between the countertop and upper cabinets. Cabinet widths usually increase in 3-inch increments from 9 to 48 inches, though custom shops can fill intermediate spaces. Current styling should also preserve the standard toe kick, which measures about 4.5 inches high and 3 inches deep. Every door must clear nearby walls, handles, drawers, and appliances.
Narrow-Frame Shaker Doors
Narrow-frame Shaker, also called slim Shaker, keeps a flat center panel and reduces the rails and stiles. Some manufacturers offer frame faces around 1 inch wide or less. The slimmer profile makes cabinetry feel lighter, especially across drawer banks where wide rails can crowd the panels.
This style suits transitional, contemporary, and modest mid-century-inspired kitchens. However, it can look underbuilt beside ornate crown molding, carved corbels, or turned legs.
Buyers should examine the construction because manufacturers produce slim Shaker doors in several ways. Some route the profile from one piece of MDF, creating stable lines and a smooth painted surface. Others assemble separate rails, stiles, and a floating center panel.
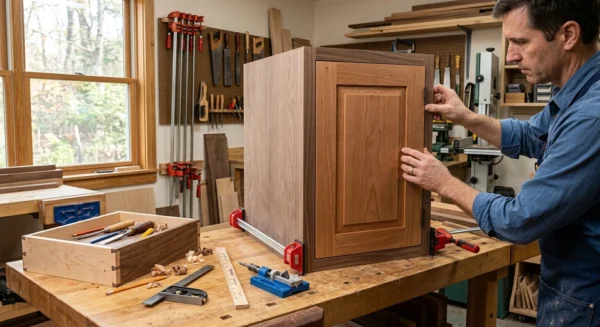
On a five-piece solid-wood door, the panel must float inside its grooves. Gluing the panel into the frame prevents natural movement as humidity changes. Narrow wood frames also leave less material around hinge cups and joints. Manufacturers must engineer the door for its dimensions rather than simply shrink a traditional profile.
Slim Shaker doors often cost more than basic full-overlay Shaker doors. Specialized tooling, applied molding, custom sizes, and tighter tolerances can all increase the price.
Natural White Oak and Walnut
Natural and lightly finished wood has replaced some of the gray-stained cabinetry common in earlier remodels. Rift-sawn and quarter-sawn white oak show straighter, calmer grain than plain-sawn oak. Walnut provides deeper brown tones and stronger natural variation.
White oak works well with warm white quartz, limestone, muted green tile, and brushed brass or black hardware. Walnut pairs comfortably with creamy counters, off-white walls, brushed nickel, and aged brass. Using walnut on every cabinet can darken a room, especially where daylight remains limited.
Wood selection affects both price and appearance. Rift-sawn white oak requires selective cutting, so it usually costs more than plain-sawn oak. Walnut also commands a premium and may vary considerably between boards.
A clear waterborne finish preserves pale wood better than an oil-based finish. Oil-based products add amber warmth and often deepen with age. Oak’s open grain can trap grime unless the finish seals it well.
Ask the cabinet shop to continue grain across adjacent slab fronts where practical. Sequence matching creates a polished result, but it increases material waste and shop labor.
Muted Greens, Warm Whites, and Deep Blues
Painted cabinets now lean toward warm whites, soft sage, olive, clay-based neutrals, and deep navy. Benjamin Moore White Dove and October Mist illustrate two of these color families. Sherwin-Williams Evergreen Fog and Naval show the green and navy ranges.
Always view samples inside the kitchen. Warm white works with many counters, but blue-white quartz can make it look yellow. Sage and olive pair well with white oak, butcher block, honed-look quartz, and aged brass hardware.
Deep navy creates clear contrast with white counters and brushed nickel. It also reveals dust, fingerprints, water spots, and edge chips more readily than a midtone color.
Painted maple may develop fine lines where rails meet stiles as the wood moves. MDF creates a smoother, more stable painted surface. However, water can permanently swell MDF if it reaches an unfinished edge or damaged area near a sink.
Specify cabinet-grade waterborne enamel or a professionally applied conversion coating. Ordinary wall paint lacks the hardness required for doors and drawers. Some waterborne and latex finishes feel dry quickly but need up to 30 days to cure. Handle newly finished cabinets gently during that period.
Flat-Panel and Slab Fronts
Slab doors have no rails, stiles, or recessed center panels. Their uninterrupted faces suit contemporary kitchens, compact rooms, and wood-grain designs where the material provides the pattern.
Cabinetmakers often use MDF for painted slabs. For wood slabs, they commonly use stable veneered panels with properly finished edges instead of wide solid boards. This construction limits warping and allows continuous grain across nearby fronts.
Slab doors wipe clean easily because they have no inside corners. However, glossy finishes and handleless openings reveal fingerprints quickly. A laminate slab may cost less than a five-piece painted Shaker door. Sequence-matched walnut veneer can cost much more because the shop must preserve the grain order.
Edge quality matters. Dark exposed substrate, thick edge banding, and chipped corners weaken an otherwise clean design. Push-to-open hardware creates a plain face but can frustrate users on trash pull-outs and busy drawers. Integrated edge pulls or simple bar pulls usually work better in daily use.
Mixed Wood and Painted Finishes
Mixed finishes work best when each material has a clear role. A painted perimeter with a white oak island adds warmth without covering the room in expensive wood. Walnut on a pantry wall can create a controlled focal point.
Use one dominant finish and one secondary finish. Too many cabinet colors make the room look fragmented. Repeat the secondary wood on open shelves, a hood surround, or a small drawer bank to connect the design.
Match undertones rather than forcing exact color matches between unrelated materials. A pink-beige floor can clash with yellow oak, while a cool gray counter may make cream paint look dirty.
Set actual door samples vertically beside the countertop, backsplash, floor, and hardware. Horizontal samples catch light differently. Check the group in morning light, afternoon light, and electric light before approving it.
Mixed finishes may raise costs because they require separate finishing runs and additional sample approvals. They can also demand more careful sequencing during installation.
Inset Cabinetry and Furniture-Style Details
Inset doors and drawers sit inside a face frame, leaving an even reveal around each opening. The narrow shadow line creates a tailored, furniture-like appearance. It also exposes errors that full-overlay doors would hide.
A good inset installation requires square boxes, straight walls, careful shimming, and consistent gaps. Shops often set reveals between 3/32 and 1/8 inch, depending on the hinge system. Humidity can tighten those gaps around solid-wood doors. Cabinetmakers must condition the doors properly and allow center panels to move.
Inset cabinets usually cost substantially more than standard overlay cabinets. The shop spends more time fitting each front, while the installer gets less adjustment room. Face frames also reduce usable opening width. Some designs require door stops or specialized hinges.
Inset construction suits traditional, transitional, and restrained contemporary kitchens. It offers poor value when the budget cannot support precise manufacturing and installation.
Furniture feet, flush end panels, framed appliance openings, and countertop cabinets also appear in detailed kitchens. Each feature needs a practical purpose and a clean stopping point. Decorative feet should never interrupt the working toe kick where someone stands to prepare food.
Plan countertop appliance cabinets around the actual appliance. Confirm interior depth, ventilation, outlet placement, and door clearance before ordering. Keep shutoff valves and junction boxes accessible.
Shut off power before anyone works around outlets or switches. Hire a licensed electrician for new or relocated electrical connections. Likewise, shut off the water before cabinet work near supply lines. A licensed plumber should make new plumbing connections.
Storage Features Driving the Look
Many current cabinet trends begin as storage decisions. Deep base drawers now replace some door-and-shelf cabinets because they bring cookware and dishes into view. Users can reach the contents without kneeling or searching behind other items.
A stack with one shallow top drawer and two deep drawers usually handles cookware better than four equal drawers. Use the top drawer for utensils and the lower drawers for pots, pans, or dishes.
Full-extension undermount slides keep drawer sides clean and expose the back of the box. They cost more and require accurate drawer dimensions. Soft-close hardware limits slamming, but it cannot correct overloaded or poorly adjusted slides.
Check each slide’s actual weight rating before ordering. Subtract the drawer box weight, then compare the remaining capacity with the planned contents. Cast iron, stand mixers, and stacks of dishes need stronger support than utensils.
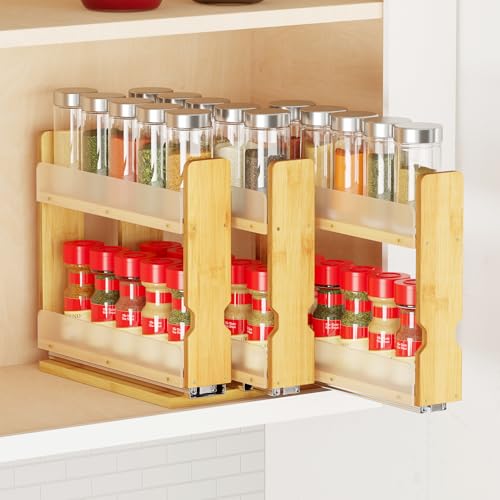
Tall pantry cabinets increasingly use internal roll-outs, tray dividers, and pocket storage. Roll-outs improve access but reduce usable width because slides and clearances occupy space. Fixed shelves still work better for large appliances when you plan the spacing around each item.
A 9- to 12-inch tray-divider cabinet can organize baking sheets and cutting boards efficiently. Avoid storing oils and spices in a narrow pull-out beside a range, where heat can shorten their useful life.
Protect thermofoil fronts from repeated heat exposure. High temperatures can loosen the film and cause delamination. Check the cabinet manufacturer’s required clearances around ovens and ranges.
Blind-corner pull-outs and kidney-shaped lazy susans improve access to corner cabinets. Neither matches the usable space and convenience of a straight drawer bank. Do not sacrifice a productive drawer run merely to preserve a difficult corner.
Cabinet Trends Likely to Date Quickly
Highly specific combinations usually age faster than a well-made door in a restrained finish. Heavy distressing, dark glaze, ornate corbels, and multiple contrasting islands can tie a kitchen to one decorating period.
Glaze collects in routed edges and emphasizes every profile. Those crevices also hold cooking residue. If an older style suits the house, use subtle distressing and apply it consistently.
Ultra-gloss doors can look sharp on a sample but reveal fingerprints, scratches, and alignment errors across a full run. Extensive open shelving creates a different problem. Dishes, food packages, dust, and grease remain visible.
Fluted, reeded, or deeply routed fronts can work on a bar cabinet or island end. Covering every door with grooves increases cleaning time and visual weight.
Strong color carries less risk on repaintable doors than on countertops, tile, or costly figured veneer. Hardware remains the simplest trend to reverse when replacement pulls share the same screw spacing.
Door style, hinge boring, inset construction, and integrated finger pulls create more permanent commitments. Changing them often requires new fronts or modifications to the cabinet boxes.
Hardware That Supports Current Cabinet Styles
Simple knobs, restrained bar pulls, and understated edge pulls complement clean cabinet profiles. Before ordering, record each pull’s center-to-center measurement. This measurement tracks the distance between screw holes, not the pull’s overall length.
You can easily replace a pull with another model that uses the same spacing. A different spacing requires new holes and a plan to repair or cover the old ones.
Align long pulls consistently across matching drawers. On Shaker doors, place knobs and pulls on the stile rather than across the center-panel joint. Test the location with removable putty or a drilling template before making permanent holes.
Check nearby corners, walls, and appliances. A large pull can strike another door or an appliance handle if you place it too close to the edge.
Brushed nickel hides fingerprints well and works with cool or neutral counters. Aged brass adds warmth to white, green, navy, oak, and walnut cabinetry. Matte black creates strong contrast but often reveals flour, dust, hand oils, and edge wear.
Unlacquered brass develops a natural patina. Owners who prefer a bright finish must polish it periodically. Lacquered brass keeps a more consistent color until the protective coating wears.
Limit mixed metals unless one finish clearly dominates and the others repeat in a controlled pattern. Concealed hinges maintain a clean exterior and allow height, depth, and side-to-side adjustments. Adjust the hinge before replacing a door that sags or shows an uneven reveal.
Cleaning and Maintaining Cabinet Finishes
Clean painted and clear-coated cabinets with a soft microfiber cloth and diluted mild dish soap. Follow with a damp cloth, then dry the surface immediately. Keep water away from joints, sink-cabinet edges, and damaged MDF.
Avoid abrasive powders, scouring pads, melamine sponges, and strong degreasers unless the manufacturer approves them. These products can dull the sheen, polish isolated spots, or soften certain coatings.
Wipe cooking splatter before grease hardens around handles and recessed panel edges. Inspect painted doors every few months for chips near sinks, dishwashers, trash pull-outs, and busy handles. Early touch-up helps stop moisture from reaching the substrate.
Dust stained and clear-coated wood regularly. Wash it only as needed with a mild cleaner that suits the finish. Do not apply furniture oil or silicone polish unless the finish manufacturer recommends it. Those products can contaminate the surface and complicate later refinishing.
Laminate tolerates routine damp wiping, but its seams should stay dry. Pay particular attention around sinks and dishwashers. Protect thermofoil from prolonged heat and steam, and repair loose film before delamination spreads.
Painted cabinets may need occasional spot repairs after several years. A quality factory coating can last much longer when users avoid harsh scrubbing and standing water. Inspect clear finishes annually at handles, sink fronts, and trash cabinets.
Oil-based clear coats and traditional alkyd paints often amber over time, especially in low light. Many modern waterborne coatings retain a clearer appearance.
How to Spend on a Trend Without Rebuilding Too Soon
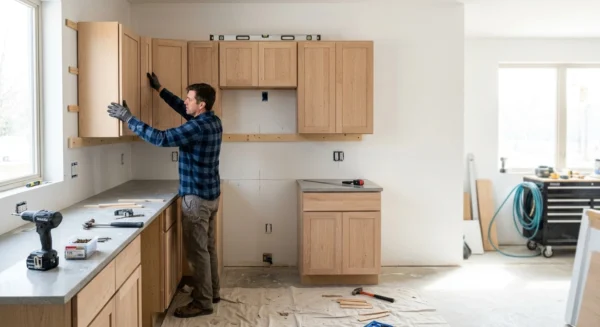
Direct most of the cabinet budget toward strong boxes, reliable hinges, durable slides, and a hard-wearing finish. Skilled installation also deserves priority. A good installer levels the run, aligns every front, and adjusts doors before completing the job.
Use color, knobs, pulls, and a limited accent finish for features that may change with taste. Full-overlay construction provides a clean look at a lower price than inset. It also gives installers more adjustment room in houses with uneven walls.
A standard Shaker door remains a flexible option when resale matters. A narrow-frame version looks more current without abandoning familiar construction. Slab doors make sense in modern rooms when the shop finishes the edges well.
Natural wood earns its premium when the cabinetmaker selects and arranges the grain carefully. A heavy stain that hides ordinary veneer rarely justifies the same expense.
Request separate prices for door style, wood species, finish, accessories, finished ends, molding, and installation. Line-item pricing shows which trend choices increase the total.
Treat samples as part of the buying process. Approve a full-size door whenever possible because a small chip cannot show proportions, sheen, grain variation, or panel shadows.
Test the sample with the proposed knob or pull. Inspect the back, edges, hinge boring, finish joints, and overall weight. For wood, ask how the shop will manage grain and color variation across fronts and exposed ends.
For painted doors, confirm whether the material is solid wood, MDF, or a combination. Ask how the shop seals routed edges. Particleboard and plywood have different moisture resistance and fastener-holding characteristics, so quotes should identify them accurately.
A durable kitchen does not need numerous trends. It needs honest materials, useful storage, accurate construction, and finishes suited to daily work.
Choosing Cabinet Trends That Will Work Later
Start with the house, available light, and permanent surfaces. Do not copy a photographed kitchen without comparing its conditions with your own room.
A painted narrow-frame Shaker door suits many homes that sit between traditional and modern. Flat veneer slabs fit architecture with cleaner lines. Warm white, muted green, white oak, and walnut can age well when their undertones suit the floor and countertop.
Inset cabinetry earns its premium where owners will notice and maintain its furniture-like detail. Full overlay offers better practical value for many remodels. Use deep colors where fingerprints and chips will not dominate the view.
Keep fluted or textured fronts to a limited accent. Choose conventional hardware spacing if future replacement matters. Avoid permanent construction changes for a short-lived visual effect.
The best way to use Latest Kitchen Cabinet Trends is to choose one or two that improve the room. Then let strong boxes, sensible storage, durable finishes, and precise installation carry the design for years.