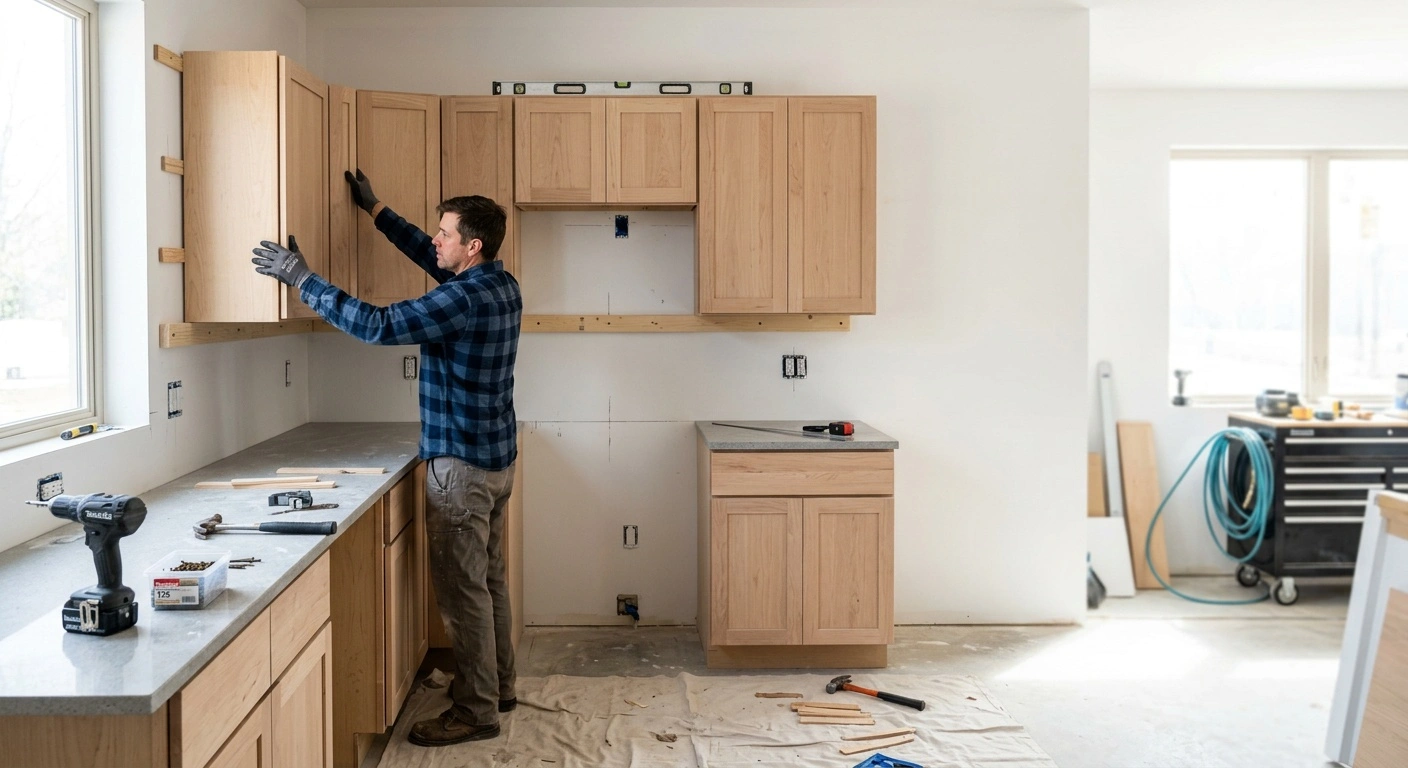
This Cabinet Installation Guide explains how to measure, prepare, hang, level, and secure kitchen cabinets safely. Careful layout work prevents uneven doors, sloped countertops, and gaps between cabinet boxes.
Most homeowners with solid carpentry skills can install stock or ready-to-assemble cabinets. However, large custom cabinets may require professional equipment and extra help.
Tools and Materials for Cabinet Installation
Gather every tool before removing the old cabinets. A laser level saves time, but a long spirit level also works well.
- Tape measure and pencil
- Four-foot or six-foot level
- Laser level, if available
- Stud finder
- Drill and impact driver
- Drill bits and countersink bit
- Clamps with padded jaws
- Cabinet screws, usually 2 1/2 to 3 inches long
- Wood shims
- Ledger board
- Jigsaw or hole saw
- Utility knife
- Safety glasses and hearing protection
Use structural cabinet screws rather than drywall screws. Drywall screws can snap under the weight of a loaded cabinet.
Cabinet Installation Guide: Planning and Preparation
Confirm the Cabinet Layout
Compare every cabinet label with the layout plan. Then place the cabinets near their intended locations without blocking the work area.
Check appliance specifications before marking the walls. Refrigerators, dishwashers, ranges, and vent hoods require exact clearances.
Also confirm the finished countertop height and thickness. These dimensions affect wall cabinet placement and appliance openings.
Inspect the Walls and Floor
Use a long level to locate the floor’s highest point. Start base cabinet measurements from that point so the finished countertop remains level.
Next, check each wall for bows, dips, and out-of-plumb corners. Mark problem areas so you can plan shim placement.
Cabinet boxes need flat contact points, but walls rarely provide them. Shims fill small gaps without twisting the cabinet.
Locate and Mark Wall Studs
Find each stud with a stud finder, then confirm its position with a small test hole. Mark the stud center above and below the cabinet area.
Extend the marks where you can still see them after positioning the cabinets. Never rely on drywall anchors to support kitchen wall cabinets.
Prepare Utilities
Shut off water and electricity before working near pipes or wiring. Confirm that outlets, supply lines, drains, and gas connections match the final layout.
Ask licensed tradespeople to move utilities when local rules require it. Do not cut cabinet backs until you verify every opening.
How to Install Wall Cabinets
Install upper cabinets before base cabinets whenever possible. This sequence provides open floor space and reduces the risk of damaging finished base units.
Mark the Wall Cabinet Line
Standard installations often place the bottom of wall cabinets 54 inches above the finished floor. That measurement allows an 18-inch space above a standard 36-inch counter.
Your appliance specifications or design plan may require a different height. Draw a level reference line across the full cabinet run.
Attach a Temporary Ledger
Screw a straight ledger board into the wall studs below the reference line. The ledger supports the cabinets while you fasten them.
Do not place the ledger over plumbing or electrical lines. Remove it after securing all upper cabinets.
Start at a Corner or Fixed End
Begin with a corner cabinet or a cabinet beside a tall pantry unit. These fixed points control the alignment of the remaining run.
Lift the first cabinet onto the ledger with a helper. Check the box for level, plumb, and square before adding screws.
Drive cabinet screws through the sturdy mounting rails and into wall studs. Avoid overtightening, which can pull the box out of square.
Join Adjacent Cabinets
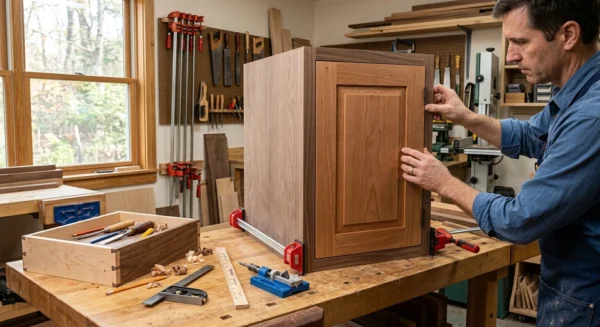
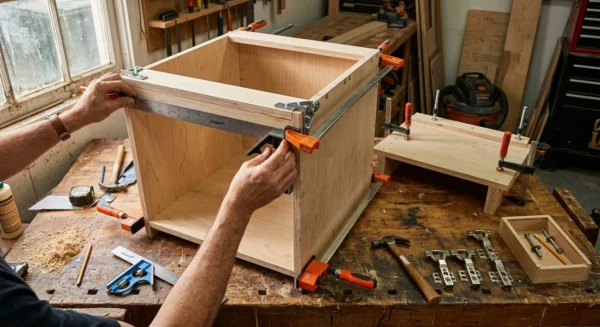
Position the next cabinet and clamp the face frames together. Protect finished surfaces with padded clamps or scrap wood.
Align the cabinet faces before drilling pilot holes. For framed cabinets, drive screws through the thick face-frame edges rather than thin side panels.
Frameless cabinets usually connect through reinforced side panels with manufacturer-approved screws. Follow the supplied instructions for screw placement.
Check Alignment After Every Cabinet
Check the full run after fastening each box. Small errors grow quickly across several cabinets.
Add shims behind mounting rails where the wall dips. Trim the shims only after completing the final alignment check.
How to Install Base Cabinets
Mark the Base Cabinet Reference Line
Measure up from the floor’s highest point and mark the cabinet height. Most standard base cabinet boxes measure 34 1/2 inches tall without a countertop.
Draw a level line around the installation area. This line shows where the cabinet tops should meet.
Position the Corner Cabinet
Set the corner cabinet first and adjust it with shims. Check the top from side to side and front to back.
Check both cabinet sides for plumb. Then confirm that the face sits square to the room and adjacent cabinet run.
Secure the cabinet through its mounting rail and into at least two studs. Recheck the level before tightening the screws fully.
Install the Remaining Base Cabinets
Set the next cabinet beside the first and clamp their faces together. Align the top edges and front frames before joining the boxes.
Shim under the cabinet sides where necessary. Avoid placing unsupported shims under the center of a thin cabinet floor.
Fasten the cabinets together, then secure the new cabinet to the wall studs. Repeat the checks for level, plumb, and alignment.
Cut Openings for Plumbing and Wiring
Measure utility locations from two fixed reference points. Transfer those measurements to the cabinet back or floor.
Drill clean holes slightly larger than the pipes or cables. A removable cabinet back may simplify this work.
Keep cuts as small as practical. Large openings weaken the cabinet and leave more space for pests.
Install Fillers, Panels, and Trim
Fillers close gaps beside walls, appliances, and inside corners. Scribe a filler to the wall when the surface curves or leans.
Attach fillers to the cabinet rather than relying on the wall for support. Predrill holes to prevent splitting narrow pieces.
Install finished end panels according to the cabinet manufacturer’s instructions. Some panels sit flush with the doors, while others align with the cabinet box.
Add crown molding, light rail, and toe-kick trim after securing every cabinet. Leave access panels where plumbing or electrical systems require service.
Adjust Doors and Drawers
Install shelves, drawers, doors, and hardware after the boxes sit firmly in place. This approach reduces weight during installation and protects finished parts.
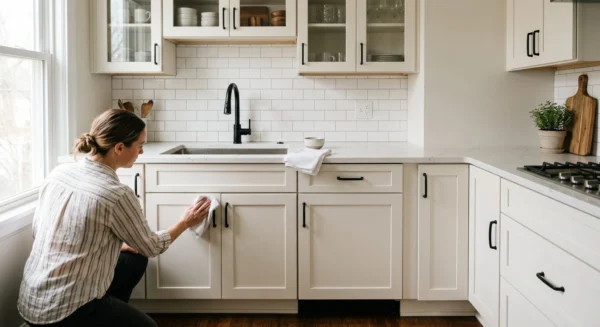
Use hinge adjustment screws to correct door height, depth, and side spacing. Keep gaps consistent across each cabinet run.
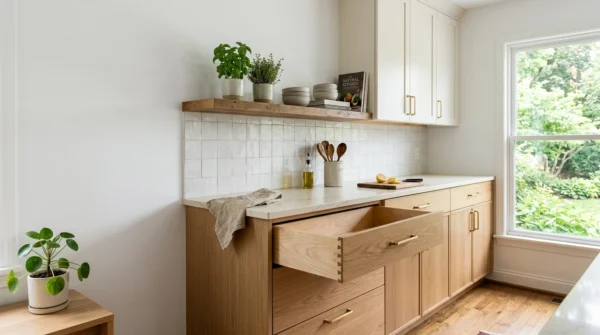
Test every drawer for smooth travel and full closure. Adjust the slides if a drawer rubs, tilts, or opens by itself.
Common Cabinet Installation Mistakes
- Starting from the lowest point instead of the floor’s highest point
- Using drywall screws in place of structural cabinet screws
- Fastening cabinets without checking for level and plumb
- Overtightening screws and distorting the cabinet box
- Skipping pilot holes near face-frame edges
- Cutting utility openings before confirming measurements
- Ignoring appliance clearance and door-swing requirements
- Installing countertops before checking the complete cabinet run
Use this Cabinet Installation Guide as a checklist throughout the project. Repeated measurements and alignment checks take less time than removing a countertop to correct a tilted cabinet.
Final Cabinet Installation Checks
Place a long level across the complete base cabinet run. Correct any high or low points before the countertop crew arrives.
Confirm that wall cabinets remain secure and aligned. Check all screws, remove temporary ledger boards, and trim exposed shims.
Finally, verify appliance openings, plumbing access, door clearance, and drawer operation. This Cabinet Installation Guide will help you complete a straight, secure installation that supports daily use.