Painted Cabinets give a kitchen a clean, flexible finish without requiring a full layout change. The right coating can refresh worn doors, cover dated wood tones, and support almost any design style. Good results depend on careful preparation, suitable paint, and patient application.
Why Choose Painted Cabinets?
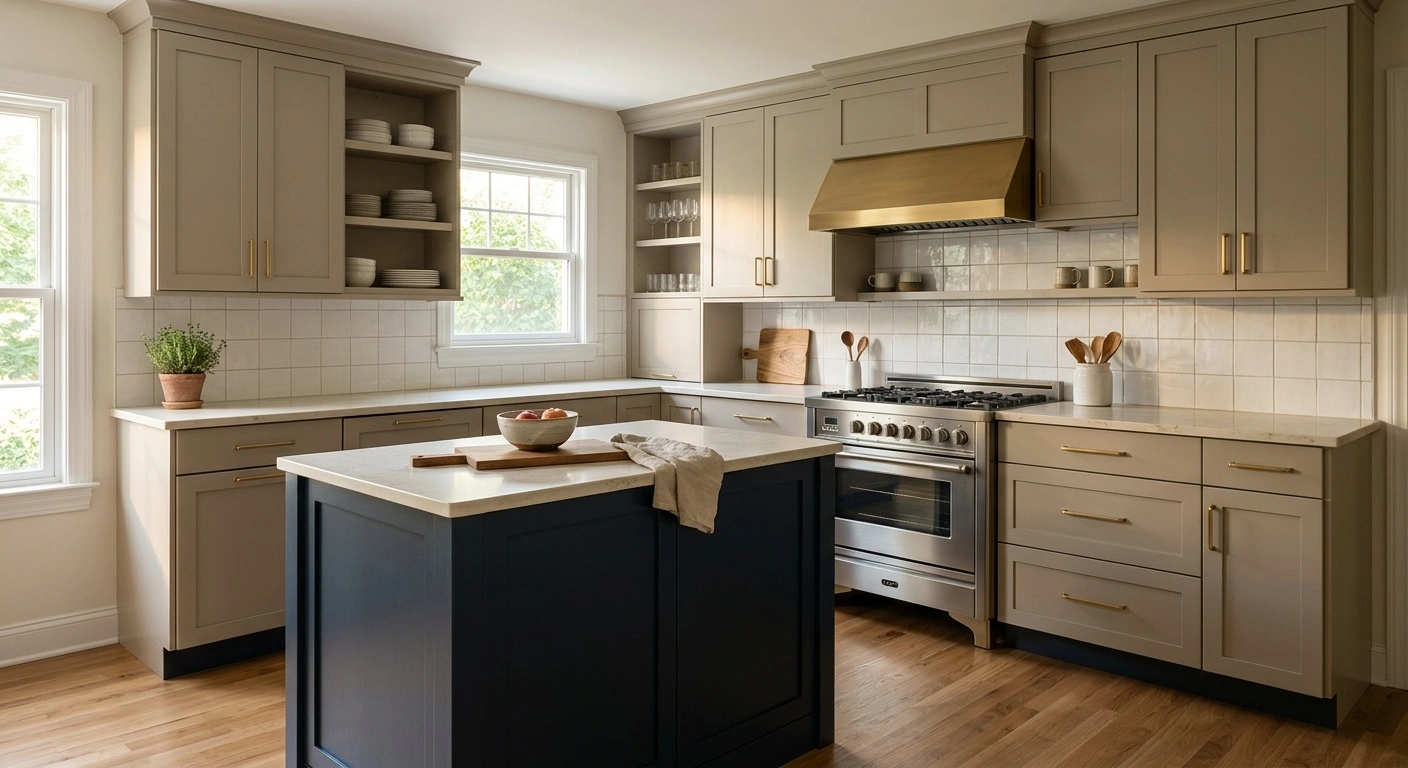
Paint offers more color choices than most stains or factory laminates. Homeowners can match existing surfaces, soften a dark room, or introduce contrast around an island. Paint also creates a consistent finish when wood grain or door colors vary.
However, paint does not hide damaged joinery or failing cabinet boxes. Repair loose hinges, split rails, and water damage before starting. A sound cabinet will accept a new finish and hold up better under daily use.
Check the Cabinet Material First
Solid wood, medium-density fiberboard, plywood, and laminate require different preparation. Wood and MDF usually accept cabinet coatings well after sanding and priming. Slick laminate needs a bonding primer designed for nonporous surfaces.
Inspect each door before buying supplies. Grease, silicone polish, and old wax can interfere with adhesion. Clean those residues thoroughly so the primer can grip the surface.
How to Prepare Painted Cabinets
Remove and Label the Hardware
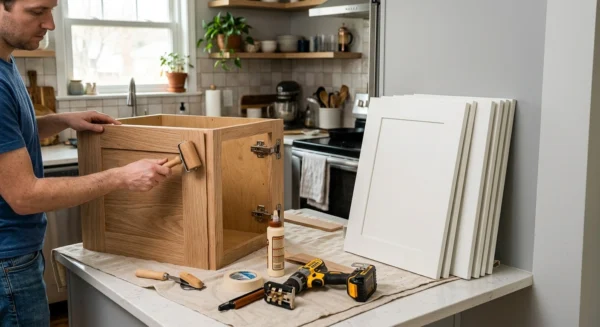
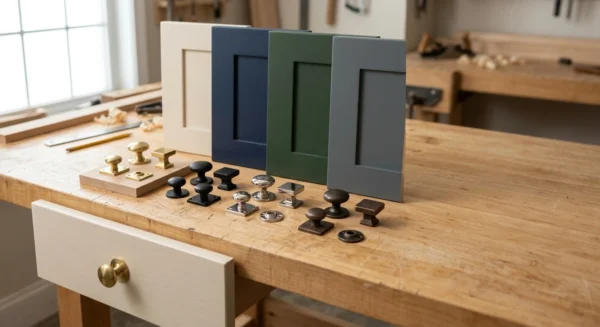
Take off doors, drawer fronts, knobs, pulls, and hinges. Label each piece with painter’s tape so it returns to the correct opening. Store screws and small parts in marked containers.
Do not paint around installed hinges. The finish may bind the hardware, chip at the edges, or make future adjustments difficult.
Clean Before Sanding
Wash every paintable surface with a degreasing cleaner. Pay close attention to areas near the range, sink, and frequently used handles. Rinse away cleaner residue and allow the cabinets to dry.
Sanding a greasy surface can push contamination deeper into scratches. Cleaning first gives the primer a more reliable base.
Sand and Prime
Lightly sand glossy finishes until they look uniformly dull. You usually do not need to remove the existing coating down to bare wood. Vacuum the dust, then wipe the surface with a clean, lint-free cloth.
Apply a primer that matches both the cabinet material and the topcoat. Shellac-based and oil-based primers help block tannins and stubborn stains. Water-based bonding primers work well on many previously finished surfaces.
Select the Right Cabinet Paint
Wall paint stays soft longer and may not resist repeated cleaning. Choose a cabinet, trim, or furniture enamel that dries to a hard finish. Waterborne alkyd and acrylic enamel products offer strong adhesion with easier cleanup than traditional oil paint.
Satin and semi-gloss finishes suit most kitchens. Satin hides minor surface flaws, while semi-gloss handles frequent wiping well. High-gloss paint shows dents, sanding marks, and brush lines more clearly.
Apply Thin, Even Coats
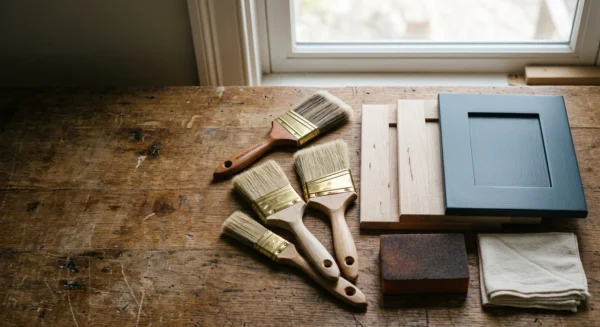
A quality synthetic brush works well on rails, corners, and detailed profiles. Use a small foam or fine-nap roller on broad, flat panels. Spraying can produce a smooth finish, but it requires masking, ventilation, and equipment control.
Apply two thin topcoats instead of one heavy layer. Follow the manufacturer’s drying and recoating times. Sand lightly between coats only when the product instructions recommend it.
Keep doors horizontal while each coat levels and dries. This position reduces runs along panel edges. Check corners for pooled paint before leaving the pieces to cure.
Allow Enough Curing Time
Dry paint can still remain soft beneath the surface. Reinstalling hardware too soon may leave dents or cause doors to stick. Follow the coating label for handling and full-cure times.
After installation, close doors gently and avoid harsh cleaning for several days. Add felt bumpers where doors and drawer fronts contact the cabinet frames.
Care and Touch-Ups
Clean Painted Cabinets with a soft cloth, warm water, and mild dish soap. Avoid abrasive pads, powdered cleaners, and strong solvents. Dry wet areas promptly, especially around sinks and dishwashers.
Keep a small amount of labeled touch-up paint. Dab small chips with a fine artist’s brush rather than coating the entire door. Larger failures often point to grease, moisture, or poor primer adhesion.
A Durable Finish Starts With Preparation
A lasting cabinet finish comes from careful cleaning, light sanding, compatible primer, and thin coats. Rushing any of those steps can lead to peeling or visible brush marks. With proper curing and routine care, Painted Cabinets can serve a busy kitchen for years.