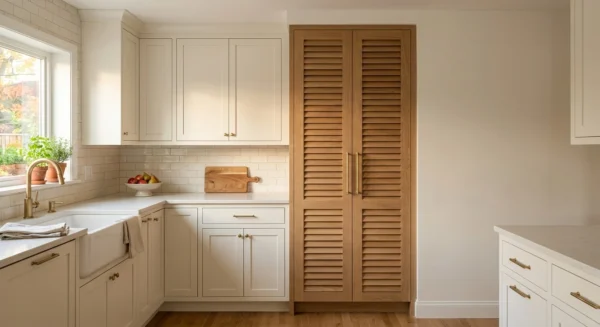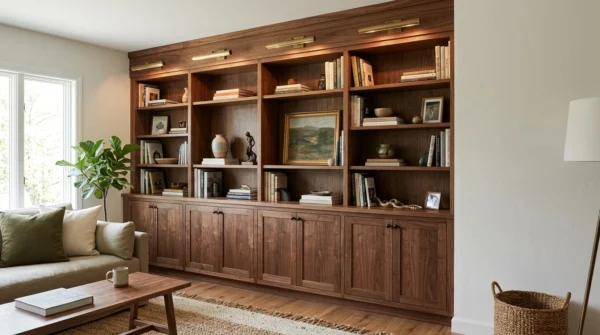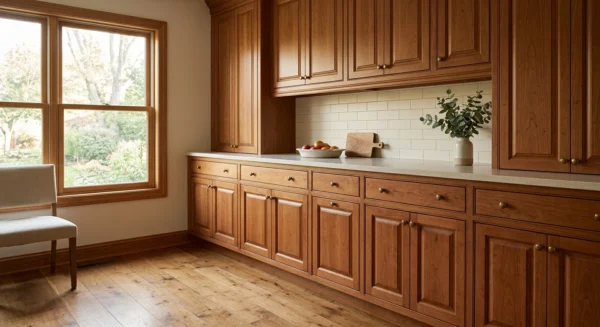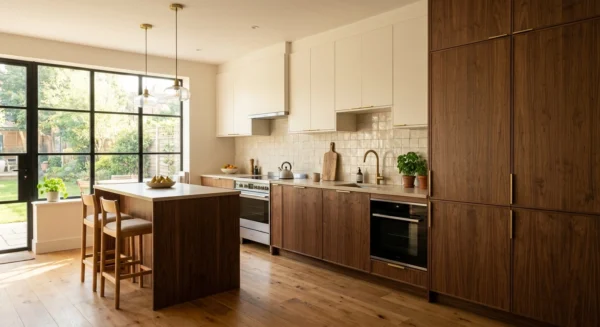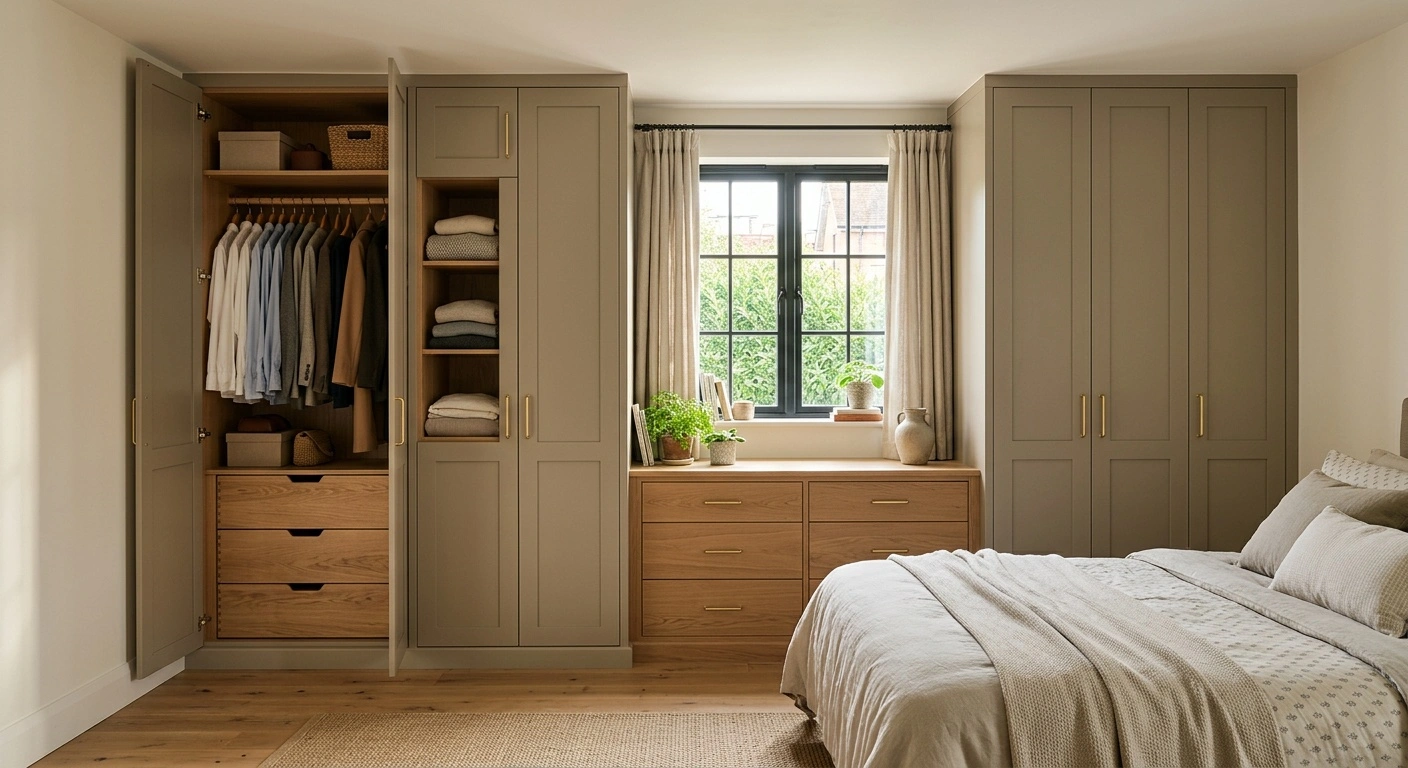
Bedroom Cabinets work best when their depth matches the contents. Allow about 24 inches for hanging clothes and 12 to 16 inches for folded linens. Most drawer banks need 14 to 18 inches of depth.
Standard cabinet modules usually come in 3-inch width increments, ranging from 9 to 48 inches. Base cabinets measure 34.5 inches high and 24 inches deep. A countertop raises the finished height to about 36 inches. Wall cabinets typically measure 12 to 13 inches deep and 30, 36, or 42 inches high.
These kitchen-based dimensions suit bedroom desks, window seats, and dresser-height built-ins. However, wardrobes often require different proportions. Full-height units may reach the ceiling, while cabinets beneath windows must clear stools, trim, and operating hardware.
A toe kick improves comfort around floor-mounted cabinets. A typical toe kick measures about 4.5 inches high and 3 inches deep. It also gives the cabinet run a built-in appearance. Start with the intended contents, then choose dimensions that support them.
Planning Bedroom Cabinets Around What You Own
Measure your storage load before drawing the cabinet run. Count long garments, short garments, shoes, sweaters, bags, bedding, jewelry, and concealed personal items. Measure the longest coat or dress from the hanger hook to the hem. Then add clearance above and below.
Conventional adult hangers generally require a cabinet about 24 inches deep. This depth allows the clothes and rod to sit behind closed doors. Shallower wardrobes need front-facing rods, pull-out hardware, or folded storage.
Folded clothing needs less depth. Drawer cabinets measuring 14 to 18 inches deep often work well in narrow bedrooms. Shelves for sweaters and jeans usually perform best at 12 to 16 inches deep. Deeper shelves tend to create hard-to-reach back rows.
Bulky comforters and blankets need broad shelf openings. Avoid dividing every cabinet bay into small compartments. Also account for door thickness, face frames, slides, and back panels. These parts reduce the usable interior dimensions.
| Cabinet configuration | Practical depth | Typical width strategy | Best use | Watch for |
|---|---|---|---|---|
| Full-depth wardrobe | About 24 inches | 24- to 36-inch door sections or paired modules | Clothing on a conventional rod | Door swing and clearance around the bed |
| Shallow wardrobe | 14 to 18 inches | Size around pull-out or front-facing hanging hardware | Folded clothes or front-facing garments | Standard hangers will not fit normally |
| Drawer dresser | 14 to 20 inches | 18- to 36-inch drawer banks | Underwear, shirts, sleepwear, and accessories | Wide drawers need strong bottoms and suitable slides |
| Linen tower | 12 to 16 inches | 18 to 30 inches per section | Sheets, towels, blankets, and baskets | Deep fixed shelves create inaccessible back rows |
| Window-seat cabinet | 18 to 24 inches | Fit the width to the window and trim | Seasonal bedding, shoes, or occasional seating | Heating vents, lid pinch points, and seat height |
| Bedside cabinet | 14 to 20 inches | 18 to 30 inches wide | Small drawers, books, charging, and personal items | Outlet access and mattress height |
| Over-bed cabinet | Usually 12 to 13 inches | Standard modules or a fitted run | Light, infrequently used items | Head clearance and secure fastening to studs |
Building the Layout Around the Bed and Walkways
The bed anchors most bedroom layouts, so place it on the plan first. Aim for 30 to 36 inches of clear walking space in regularly used paths. Allow more space where doors or drawers open into those paths.
A 24-inch-deep wardrobe with a 24-inch hinged door needs nearly 48 inches when open. Draw each open door and extended drawer on the plan. A closed cabinet outline does not show its full operating space.
Mark entry doors, closet doors, windows, radiators, heaters, floor registers, and return-air grilles. Keep cabinets from blocking airflow or trapping windows behind doors. Leave access for cleaning, vent removal, and window maintenance.
Heat can damage cabinet finishes and stored clothing. Thermofoil needs particular care because heat may separate its vinyl surface from the MDF core. Follow the heater manufacturer’s clearance requirements when planning nearby cabinetry.
Wall-to-Wall and Floor-to-Ceiling Runs
Narrow filler strips help a wall-to-wall cabinet run fit crooked or uneven walls. They also keep drawer fronts and pulls clear of nearby trim. Do not order cabinets to the exact measured wall width.
Bedroom walls rarely remain square and plumb from floor to ceiling. Scribed end fillers give installers material to trim while preserving consistent door gaps. Tall runs also need a top filler or separate crown treatment. Ceilings often rise or fall across a room.
Divide long runs into functional bays instead of repeating identical doors. One bay might provide double hanging, while another holds drawers and adjustable shelves. A wider upper cabinet can store blankets or luggage.
Place frequently used drawers between knee and shoulder height when practical. Reserve upper cabinets for lightweight seasonal items. Very tall doors can twist or sag, so separate upper doors often perform better.
Cabinets Around Beds and Windows
Bedside towers add storage without consuming much floor area. However, they should not crowd the mattress or loom over the sleeper. Keep knobs and pull ends away from pillows. Choose door swings that do not cross the bed.
Keep a bridging cabinet shallow and fasten it securely to structural framing. Mount it high enough to protect a seated person’s head. Store light bedding overhead instead of books or heavy equipment.
Coordinate under-window cabinet height with the sill, casing, and planned cushion. Standard 34.5-inch base cabinets usually make an uncomfortable window seat after adding a top and cushion. Short custom boxes or purpose-built bench cabinets work better.
Hinged lids create large openings but need clear space above them. Drawers provide easier access for daily storage. Cabinetry must not restrict an emergency escape window’s operation or required access.
Designing Cabinet Interiors for Efficient Storage
Assign every cabinet bay a job before selecting the doors. Adjustable shelves support changing storage needs. Fixed shelves brace wide boxes and help prevent the sides from bowing.
Regular shelf-pin spacing lets a linen tower accommodate shirts, baskets, or bedding. Several closely spaced shelves usually handle folded clothes better than one tall cavity. Keep each stack short enough to remain stable.
Drawers cost more than plain shelves, but they bring stored items into view. Cabinets with doors below waist height often become dark, disorganized spaces. Deep drawers suit sweaters, pajamas, and exercise clothes. Shallow drawers simplify socks, belts, watches, and jewelry.
Specify clear internal drawer dimensions instead of relying on nominal cabinet width. Face frames, slide clearances, and drawer sides can remove several inches. Measure the intended contents before approving the drawer layout.
Hanging Sections, Shelves, and Drawers
Short shirts and folded trousers generally need 38 to 42 inches of vertical hanging space. This clearance allows two-tier hanging in many tall cabinets. Long dresses and coats may require 60 to 70 inches.
Measure actual garments before finalizing rod heights, especially for formal clothing. A shelf above the rod uses the upper space and stiffens the cabinet. Leave enough clearance to lift hangers on and off comfortably.
Shelf openings between 10 and 14 inches high suit many sweaters and jeans. Bulky bedding requires more room. Keep folded stacks low enough to remove the bottom item without toppling the pile.
Dense contents make wide drawers heavy. Narrower drawers reduce strain on the box, bottom, and slides. Use full-extension slides when users need access to the back. Match each slide rating to the loaded drawer weight.
Pull-Outs and Specialized Storage
Pull-out trays expose the back of deep cabinets. Each tray needs clearance for hinges, doors, and other projections. A concealed hinge can stop a tray even when the opening appears wide enough.
Shoe shelves measuring 12 to 14 inches deep fit many adult shoes. Boots need taller, adjustable openings. Sloped shelves save little space and may let smooth-soled shoes slide. Add a front stop when using them.
Jewelry drawers, pull-out hampers, and valet rods should support established routines. Hampers need ventilation and removable liners. Damp clothing should not sit inside a sealed cabinet.
Attach valet rods to strong cabinet sides or stretchers. Several hanging outfits create substantial leverage. Rotating accessories and corner fittings consume usable space, so install them only when they improve access.
Choosing Doors, Materials, and Cabinet Construction
Overlay doors suit many bedroom built-ins because they cover most of the cabinet frame. They also tolerate minor installation variations. Inset doors create a furniture-like appearance but demand square boxes, stable doors, and precise installation.
Sliding doors save swing space, though they expose only part of the interior. They can also restrict wide drawers unless the panels move completely clear. Pocket and retracting doors improve access but require larger, more complex hardware systems.
Plywood boxes hold fasteners well and suit tall wardrobes, window seats, and loaded drawer units. Particleboard can perform well in engineered cabinetry, but it is not plywood. It has different moisture resistance and screw-holding characteristics.
MDF creates smooth painted doors and panels. Water causes permanent swelling, so protect exposed MDF edges near windows with condensation. Hardwood strengthens face frames and exposed door edges. Veneered plywood keeps broad cabinet sides flatter than wide solid-wood panels.
Solid wood expands and contracts across its grain as humidity changes. A solid-wood center panel must float inside a frame-and-panel door. Never glue that panel into the frame. Glue can cause splitting, bowing, or joint failure.
Tall slab doors also need stable construction. Veneered panels and engineered cores often remain flatter than single wide boards. Follow the door manufacturer’s height and hardware limits.
Details That Make Cabinets Easier to Use
Handles should provide a secure grip without catching passing clothing. Long bar pulls give good leverage on wide drawers. However, projecting ends can snag sleeves and bedding.
Knobs require one hole and allow easy replacement. Pulls use two holes at a fixed center-to-center spacing. Changing pull sizes later may require filling and refinishing the existing holes.
Soft-close hinges and slides reduce noise in a sleeping area. They cannot correct an out-of-square cabinet. Install and adjust the boxes before tuning the hardware.
Interior lighting improves visibility inside deep wardrobes. Plan switches, drivers, and cable routes before installing the cabinets. Use listed cabinet-lighting components. Hire a licensed electrician for new electrical connections.
Painted finishes can make a large built-in appear quieter. Clear finishes preserve visible wood grain. Warm white, greige, sage, and navy pair well with oak, walnut, or maple accents. Dark paint shows dust, fingerprints, and pale lint more readily.
Waterborne and latex finishes may feel dry before they fully cure. Some products need up to 30 days, depending on their instructions and room conditions. Handle fronts gently during that period. Keep bumpers, baskets, and stored items away from fresh paint.
Common Placement and Storage Mistakes
Excessive cabinet depth often reduces circulation around the bed. A wardrobe may fit on paper yet make drawers and bedding difficult to handle. Protect the walking path before maximizing storage volume.
Do not place a drawer bank directly against a wall or deep window casing. Fronts and pulls need room to clear adjacent surfaces. Add fillers wherever doors, drawers, or hardware might collide.
Uniform shelf spacing wastes space because shoes, sweaters, hats, and comforters need different openings. Too many fixed shelves limit future changes. Too few shelves create tall, unstable piles. Combine adjustable shelves with selected fixed supports.
Wide unsupported shelves can sag beneath books or folded bedding. Thin particleboard and MDF face a greater risk over long spans. Shorten the span, increase thickness, add a strong front edge, or install a center divider.
Keep daily clothing within easy reach, even if that changes the exterior symmetry. Upper cabinets suit light, infrequently used items. Avoid storing heavy or dangerous objects on deep overhead shelves.
Open shelving collects dust and exposes visual clutter. Glass doors reduce dust but still reveal every stack. Use them for display areas rather than routine clothing storage.
Installation, Fastening, and Safety
Anchor tall wardrobes to prevent tipping. Fasten suspended cabinets into wall studs or suitable structural blocking, not drywall alone. A loaded upper cabinet may weigh several hundred pounds.
Locate the studs, verify their positions, and mark their centers. A level ledger can support wall cabinets during installation. Drive proper cabinet screws through structural cabinet members and into the framing. Do not use brittle drywall screws as cabinet fasteners.
Shim each cabinet level and plumb before joining adjacent boxes. Tightening crooked boxes together can distort openings and create uneven door gaps. It can also interfere with drawer operation.
Floor-to-ceiling installations generally require two people. Tall boxes are awkward to lift and control. An unstable box can damage flooring, walls, ceilings, or nearby furniture. Scribe fillers to uneven surfaces instead of forcing cabinets against them.
Check for wiring, plumbing, and gas service before drilling or cutting. Shut off the applicable utilities and verify the wall cavity before fastening. Licensed electricians should handle new electrical connections. Licensed plumbers should complete new plumbing connections.
Keep required clearances around radiators, baseboard heaters, and HVAC openings. Do not cover equipment that needs inspection or service. Consult a qualified building professional before making structural changes or altering emergency window access.
A Bedroom Cabinet Plan That Stays Useful
Combine 24-inch-deep hanging areas with shallower drawers and shelves where full depth adds little value. Preserve 30 to 36 inches of walking space where the room allows. Draw every door and drawer in its open position. Include fillers beside walls, casings, and projecting trim.
Place daily items between knee and shoulder height. Store seasonal goods above and heavy items low. Adjustable shelves and conventional drawer sizes adapt better than narrow, highly specialized compartments.
Spend first on square boxes, dependable hardware, secure installation, and interiors sized for the actual contents. Decorative panels and crown molding cannot fix blocked walkways or colliding drawers. Use standard modules where they fit. Reserve custom sizing for alcoves, sloped ceilings, window seats, and uneven walls.
Smart Bedroom Cabinets do not need to fill every available inch. They should open fully, keep stored items visible, and leave the bedroom comfortable to use.