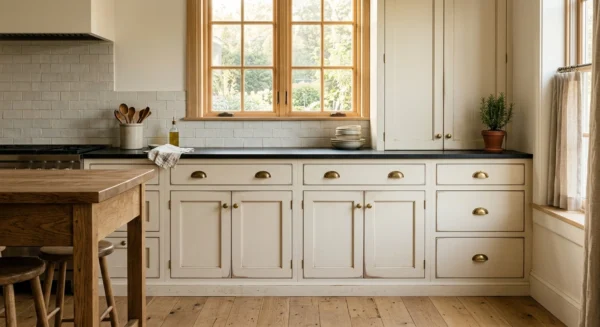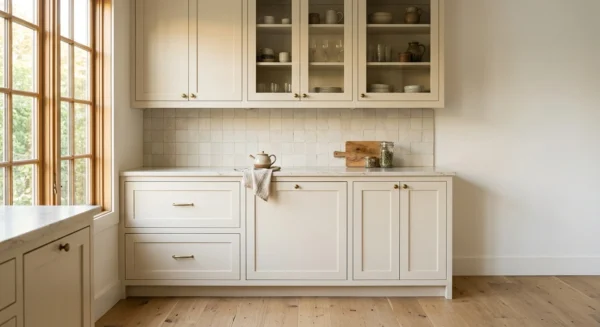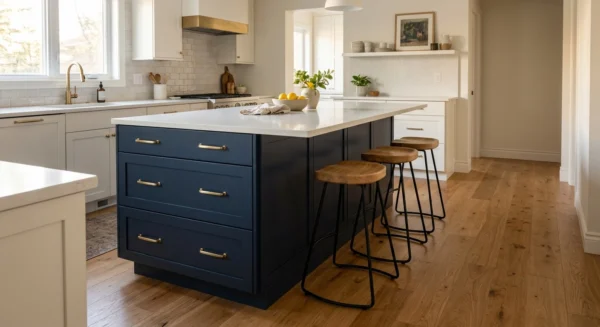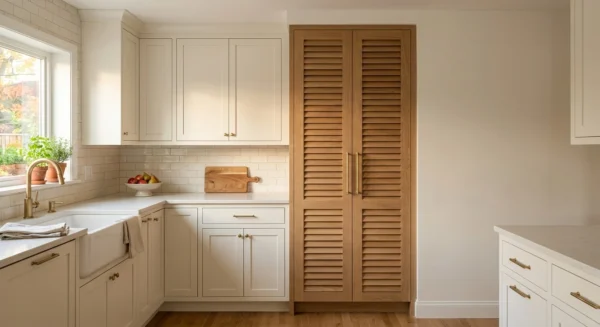
Cabinet door router bits shape the rails, stiles, and panels that give a door its fit and finished profile. The right set helps you produce consistent joinery without relying on several separate tools. Bit type, shank size, material, and setup all affect the final result.
Types of Cabinet Door Router Bits
Most cabinet doors use cope-and-stick joinery, a raised or flat center panel, or a simple routed edge. Each construction method requires a different cutter or matched set. Choose the door style before buying bits.
Cope-and-Stick Bit Sets
Cope-and-stick sets cut the rail ends and the matching profiles along rails and stiles. The cope cut forms the joint, while the stick cut shapes the inside edge and creates the panel groove. Manufacturers match these cutters so the parts fit together accurately.
Some sets use two separate bits. Others use one adjustable bit that you reconfigure for each operation. Separate cutters save setup time, while adjustable cutters cost less and require less storage space.
Raised-Panel Bits
Raised-panel bits shape the center panel and create a thinner tongue around its edge. That tongue fits into the grooves in the frame. Common profiles include ogee, bevel, cove, and traditional round-over shapes.
These cutters have a wide diameter and remove substantial material. Use them only in a router table unless the manufacturer states otherwise. Make several shallow passes instead of trying to cut the full profile at once.
Flat-Panel and Plywood Bits
Flat-panel doors often use plywood, MDF, or a solid panel with little edge shaping. A straight bit or slot cutter can form the frame groove. Plywood-specific bits match common sheet-goods thicknesses more closely than standard fractional sizes.
Measure the actual panel before selecting a cutter. A product sold as 1/4-inch plywood may measure less than its labeled thickness. A loose groove can cause rattling, while a tight groove can prevent assembly.
Glass-Door Bits
Glass-door bits create a rabbet or removable retaining profile on the back of the frame. This design allows the glass to sit securely without a wood center panel. Use clips, stops, or flexible glazing material to hold the pane in place.
Plan the rabbet depth around the glass and retaining method. Leave enough wood around the opening to support the frame. Sharp inside corners may require light chisel work after routing.
How to Choose a Router Bit Set
Start with the material and door thickness. Many cope-and-stick sets suit 3/4-inch stock, but their acceptable range varies. Check the manufacturer’s specifications before milling the rails and stiles.
Choose the Right Shank Size
A 1/2-inch shank offers more rigidity than a 1/4-inch shank. That extra stiffness helps reduce vibration during demanding cuts. Large raised-panel cutters commonly come with 1/2-inch shanks for this reason.
Your router must have a compatible collet. Never place a 1/2-inch shank in an adapter made for smaller cutters. Clean the collet and shank before installation so they can grip securely.
Check the Cutting Material
Carbide-tipped cutters handle hardwood, softwood, plywood, and MDF better than basic high-speed steel bits. Carbide holds an edge longer, especially when cutting abrasive sheet goods. Clean resin from the cutters regularly to maintain cutting quality.
Replace or sharpen a bit when it starts burning the wood or requiring excess feed pressure. First, confirm that resin buildup or slow feed speed is not causing the problem. Never continue using a chipped cutter.
Match the Profile to the Project
Profile choice affects more than appearance. Deep profiles remove more wood and may weaken narrow frame parts. Detailed cutters also require careful sanding to preserve crisp lines.
Make sample cuts before processing the final stock. Label each sample with the bit settings and material thickness. These reference pieces can shorten setup time on future doors.
Setting Up Cabinet Door Router Bits
A matched set of cabinet door router bits still requires careful adjustment. Small differences in bit height can create ridges, loose joints, or faces that do not align. Use straight, square test pieces that match the final stock thickness.
Mill the Stock First
Joint and plane the door parts before routing. Rails and stiles need consistent thickness, straight edges, and square ends. Variations in the stock will appear in the joints.
Cut the rails to final length before routing their ends. Leave the stiles slightly long if you want room for trimming after assembly. Mark the front face of every part to keep the orientation consistent.
Cut the Cope Before the Stick Profile
Route the rail-end cope cuts first. A square backer board supports the fibers and reduces tear-out as the cutter exits. It also keeps the narrow rail perpendicular to the fence.
Next, route the stick profile along the inside edges of the rails and stiles. Adjust the bit until the faces align at the joint. Test the fit with light hand pressure rather than forcing the pieces together.
Make Raised Panels in Several Passes
Begin with a shallow cut and increase the depth gradually. This approach limits strain on the router and reduces torn grain. Keep the panel flat against the table throughout each pass.
Cut the end-grain edges first, then route the long-grain edges. The final long-grain passes remove most tear-out from the panel corners. Make a light cleanup pass at the final setting if the surface needs refinement.
Router Table Safety and Cut Quality
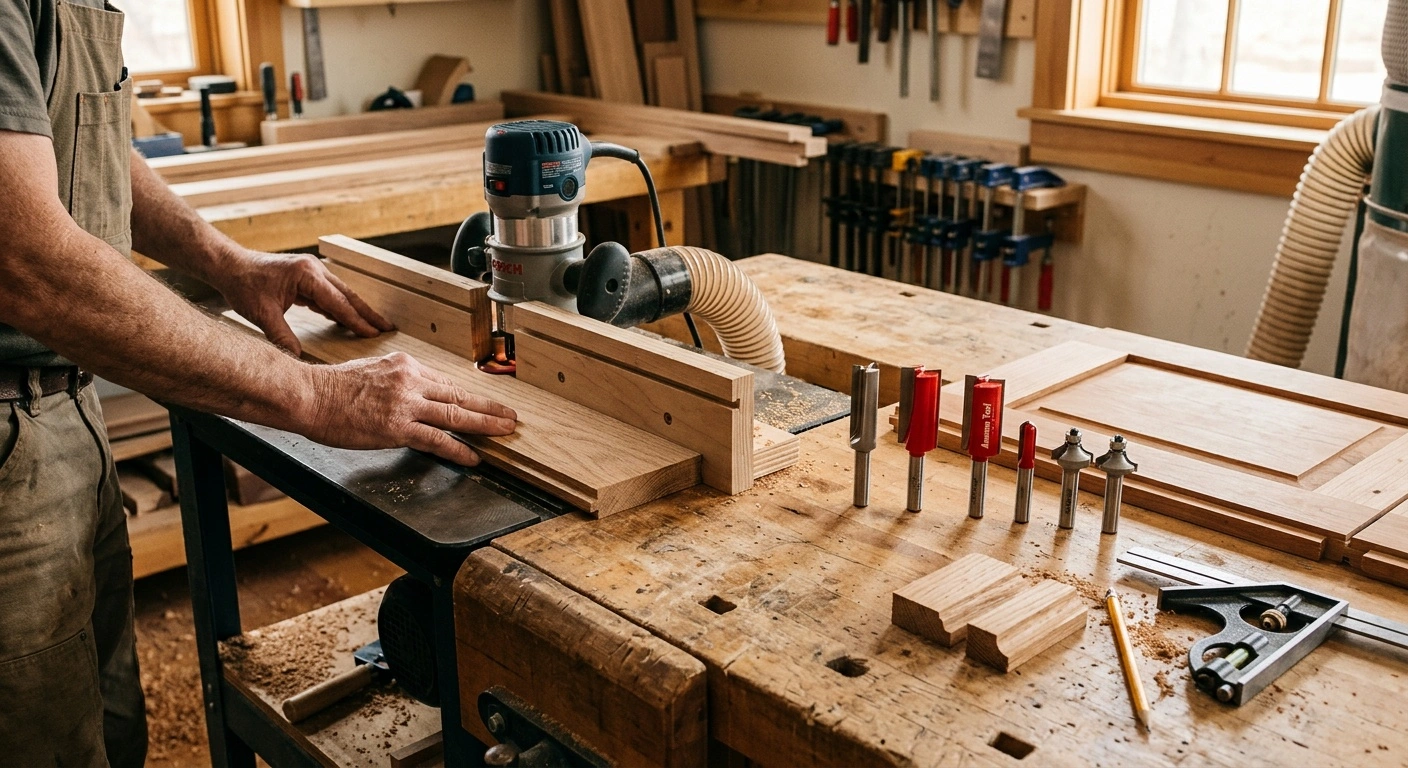
Use a rigid router table, a flat insert plate, and a secure fence. Confirm that the bit clears the insert and fence before starting the router. Spin the cutter by hand while the machine remains unplugged.
Follow the speed range printed by the bit manufacturer. Large-diameter cutters usually require lower speeds than small straight bits. Never exceed the cutter’s stated maximum speed.
Feed stock from right to left across a standard router-table fence. Use featherboards to hold long parts against the table and fence. Push blocks keep your hands away from the cutter while improving control.
Wear eye and hearing protection, and connect dust collection when possible. Stop the router before making adjustments or clearing chips. Wait for the cutter to stop completely before reaching near it.
Maintaining Accurate Results
Save a setup block or sample joint after completing a successful door. Record the bit height, fence position, stock thickness, and router speed. These notes make repeat work faster and more consistent.
Store cutters so their carbide edges cannot strike each other. Clean each bit after use and inspect the bearing for smooth rotation. A worn bearing can alter the profile or mark the workpiece.
With the right cabinet door router bits, careful stock preparation matters as much as cutter quality. Test every setup, make light passes, and keep the work firmly supported. Those habits produce clean profiles and joints that close without gaps.