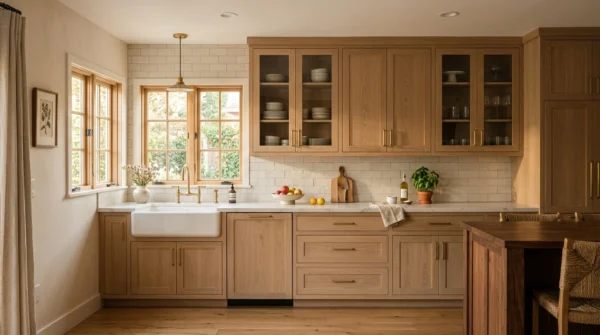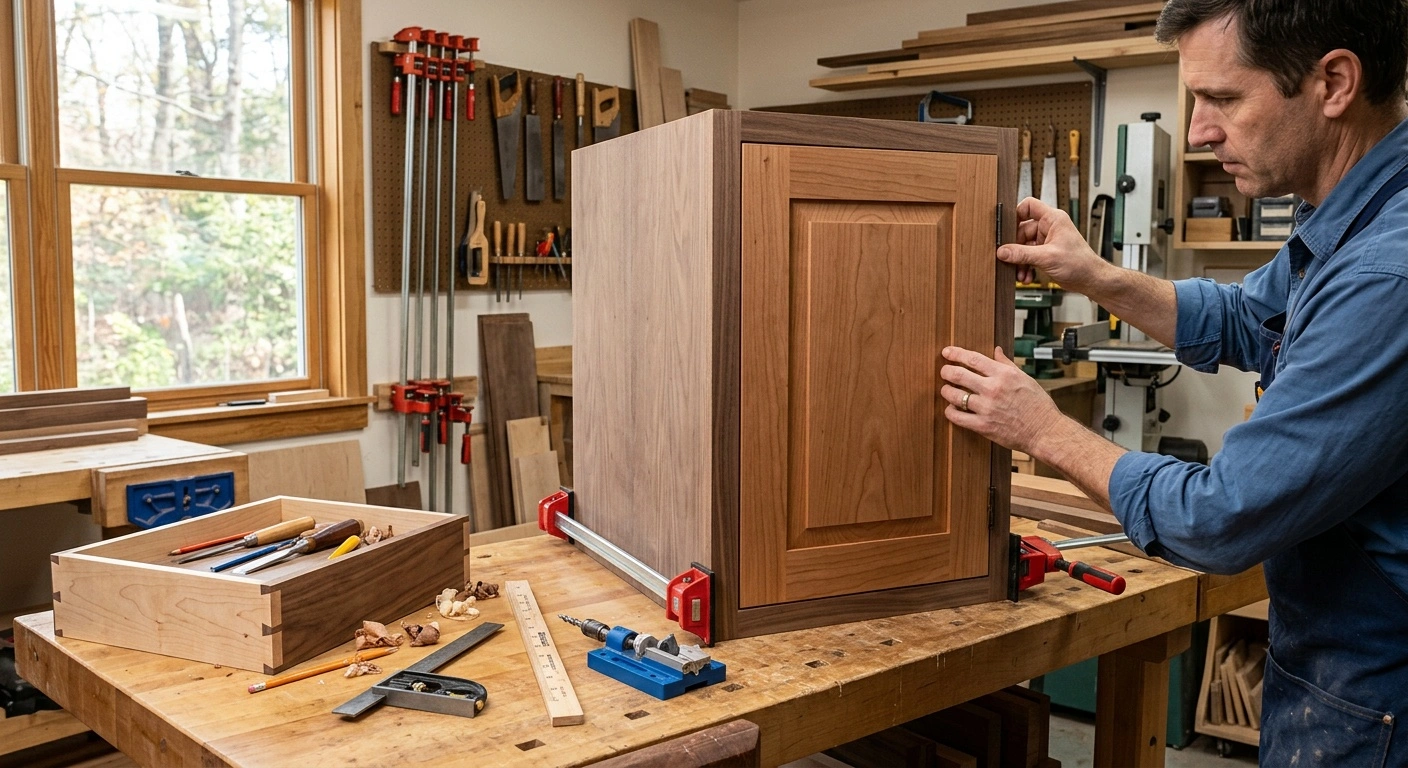
Advanced Cabinet Making Techniques begin with precision, not decorative joinery. Square boxes, consistent reference surfaces, controlled reveals, and repeatable cuts determine the quality of the finished cabinet. This project suits experienced DIY woodworkers who understand cabinet assembly and can operate power tools safely.
Allow 45 to 70 working hours for one detailed base cabinet. That estimate covers a face frame, inset frame-and-panel doors, and a drawer. Spread the work across three or four weekends, then allow several days for the finish to dry. Waterborne and latex finishes may need up to 30 days to cure fully.
One person can cut joinery and assemble smaller components. However, two adults should handle full plywood sheets, move finished cabinets, and install wall cabinets.
Advanced Cabinet Making Techniques That Improve the Build
The most useful methods prevent small errors from accumulating. A cabinet side that sits 1/16 inch out of square can affect the back, face frame, slides, doors, and adjoining cabinets. Start with one jointed or factory edge, then mark a reference face on every component.
Machine matching parts during the same setup instead of measuring each part separately. This approach reduces fence changes and keeps paired components identical.
A story stick often proves more reliable than repeated tape measurements. Mark the toe kick, shelves, drawer openings, hinge centers, and rails on a straight plywood strip. Transfer those marks to both cabinet sides so every opening stays aligned.
Dry-fitting also separates controlled work from rushed assembly. Assemble each box, frame, door, and drawer without glue, then compare the diagonals. A sound joint should seat with hand pressure or light clamp pressure. Correct any joint that needs heavy clamping before you apply glue.
Design Around Standard Cabinet Dimensions
A standard kitchen base cabinet measures 34.5 inches high and 24 inches deep. A typical countertop brings the finished height to about 36 inches. Most toe kicks measure about 4.5 inches high and 3 inches deep. Deeper recesses can provide additional foot clearance.
Common cabinet widths increase in 3-inch increments from 9 to 48 inches. However, a custom cabinet can fill an irregular opening or meet a specific storage need.
Wall cabinets usually measure 12 to 13 inches deep. Common heights include 30, 36, and 42 inches. Installers typically leave 18 inches between the countertop and the wall cabinet. Changing that gap affects appliance clearance, counter access, and shelf reach.
Plan the interior before you finalize the face frame. Two drawer banks may provide better access than one wide door opening. A fixed center stile can also block a large appliance from entering the cabinet.
Full-extension drawers improve access to deep base cabinets. Adjustable shelves remain practical for wall cabinets, where drawer hardware would add weight and complexity.
Tools, Materials, and Safety Equipment
- Table saw with an accurate fence, or a track saw with a guide rail
- Miter saw or table-saw crosscut sled
- Router table with straight or spiral router bits
- Rail-and-stile bit set for frame-and-panel doors
- Drill, driver, and countersink bits
- 35 mm concealed-hinge bit for European-style hinges
- Random-orbit sander with 120-, 150-, and 180-grit abrasives
- Combination square, framing square, straightedge, and marking knife
- Story stick material and winding sticks
- Long parallel clamps or pipe clamps
- Cabinet-grade 3/4-inch plywood for cabinet boxes
- Hardwood for face frames, door frames, and drawer fronts
- 1/2- or 3/4-inch plywood for a structural back
- Solid wood or veneered plywood for center panels
- Wood glue, cabinet screws, and fasteners suited to the selected joinery
- Concealed hinges designed for inset or overlay construction
- Drawer slides with the required side, bottom, and rear clearances
- Wood filler compatible with the chosen finish
- N95 respirator, eye protection, and hearing protection
- Organic vapor cartridge respirator for solvent finishes or chemical strippers
- Drop cloths, ventilation fans, and finishing stands
Wear an N95 respirator while sanding, and connect cutting tools to effective dust collection. Spraying, solvent finishing, and chemical stripping require strong ventilation and an organic vapor cartridge respirator. A dust mask does not protect against fumes.
Do not use a consumer paint stripper that contains methylene chloride. Choose a non-methylene-chloride product and follow its label, ventilation guidance, and disposal instructions.
Test painted cabinets for lead before disturbing finishes in homes built before 1978. Sanding, scraping, or heat-stripping can release hazardous lead dust. Paid contractors must follow the EPA Renovation, Repair and Painting Rule when it applies.
Oil-soaked rags can self-heat and ignite. This risk applies to linseed oil, tung oil, Danish oil, and other oil-based products. Lay used rags flat outdoors in a safe area until dry. Alternatively, submerge them in water inside a sealed metal container and follow local disposal rules.
Build the Cabinet in a Controlled Sequence
This process covers a face-frame cabinet with inset frame-and-panel doors. That design demands close control over joinery and finished reveals. The same box-building methods also work for frameless cabinets.
Frameless construction depends heavily on accurate hardware patterns and properly finished panel edges. Keep any offcut used to set a fence, router depth, or hinge location until installation ends.
Do not cut every component immediately from a printed cut list. Machine and verify the cabinet box first. Then measure the assembled case before cutting the face frame, doors, and drawer fronts. Later parts can compensate for minor variations in the finished box.
- Create a full-size working drawing. Draw a front elevation and side section. Show the cabinet height, toe kick, face-frame openings, shelf positions, door swing, drawer clearances, and countertop overhang. Check: Give every component a thickness and location. Confirm that doors and drawers will clear walls, appliances, and adjacent pulls.
- Establish reference edges on the sheet goods. Mark one straight factory or track-sawn edge on each cabinet side. Also mark one reference face. Take every layout measurement from those surfaces. Check: Place paired sides together and confirm that their edges and layout marks match.
- Machine the carcass joinery. Cut dados for the bottom and fixed shelves. Add a rabbet or groove for the back, using one setup for matching parts. A captured 1/2- or 3/4-inch back resists racking better than a thin, edge-nailed panel. Check: Test each groove with an offcut from the actual plywood. It should seat fully without hammering or visible side play.
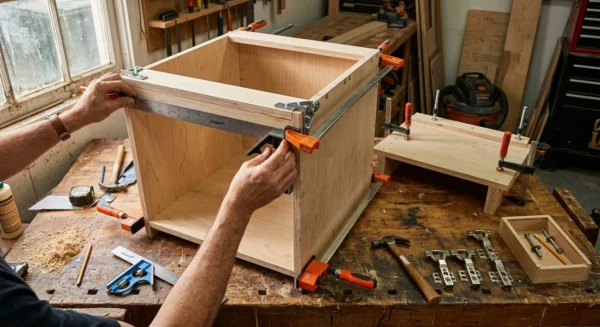
- Assemble the cabinet box. Apply glue to the dados and rabbets. Clamp the box on a flat surface, then add cabinet screws or suitable sheet-goods fasteners. Check: Compare both diagonal measurements. The sides should remain parallel, and the cabinet should sit without rocking.
- Build the face frame as one square assembly. Join the rails and stiles with mortise-and-tenon, loose-tenon, dowel, or pocket-hole joinery. Place pocket holes on concealed surfaces. Check: Close every joint without steps. Confirm that the frame lies flat and has matching diagonals.
- Attach the face frame to the cabinet box. Align the frame from a centerline or designated finished end. Do not assume equal overhangs will suit the installation. Glue and clamp the frame to the plywood edges and any supporting blocks. Check: Keep the frame flush at finished ends. Make sure the openings stay square and the clamps do not bow a stile.
- Make the frame-and-panel doors. Mill every rail and stile to the same thickness. Cut the joints, then leave expansion space around the center panel. A solid wood panel must float inside its grooves, so never glue it in place. Check: Confirm that the door lies flat and square. Before finishing, make sure the panel can shift slightly.
- Fit each inset door to its opening. Plane or trim the assembled door in small increments. Aim for a consistent reveal, often 1/16 to 3/32 inch per side. Cabinet size, hinges, finish thickness, and seasonal movement affect the final gap. Check: Insert temporary spacers on all four sides. The door should not bind when you lightly flex the frame.
- Bore and install the concealed hinges. Use a rigid jig or drill-press fence for a standard 35 mm hinge cup. Follow the manufacturer’s cup setback, plate position, opening angle, and door-thickness limits. Inset, full-overlay, and partial-overlay hinges are not interchangeable. Check: Open the door fully and inspect the reveal. The adjustment screws should center the door without reaching their limits.
- Build the drawer boxes to the slide specifications. Suitable joints include dovetails, box joints, lock rabbets, and reinforced rabbets. Size the drawer after checking the hardware clearances. Undermount slides often need bottom recesses, notches, and locking devices. Side-mount slides require consistent clearance on both sides. Check: Confirm that the drawer sits square and its bottom remains fully captured. Measure the width along the full drawer depth.
- Install the drawer slides with a positioning jig. Register both cabinet members from the same spacer or level line. Mount the drawer members parallel to the drawer bottom. Check: Run the drawer through its full extension. It should move freely, close against both stops, and resist diagonal rocking.
- Prepare exposed surfaces for finish. Fill actual defects, ease sharp edges lightly, and follow a controlled sanding sequence. Avoid rounding door joints or enlarging fitted gaps. Plywood veneer may be thin, so aggressive sanding can expose the core. Check: Use raking light to find scratches, glue smears, shiny low spots, and uneven sanding marks.
- Apply the finish as a complete system. Choose compatible primers, color coats, and clear coats. Follow the manufacturer’s recoat windows, temperature limits, and ventilation instructions. Seal MDF edges carefully because moisture causes permanent swelling. Hardwood and plywood edges also need proper sealing for even absorption. Check: Wait until the coating feels uniform, dry, and firm enough for careful handling. Treat it gently during the full cure period.
- Install the completed cabinet run. Shut off power and water before working near wiring, outlets, supply lines, or drains. Hire licensed professionals for new electrical, plumbing, or gas connections. Start leveling base cabinets at the floor’s highest point. Shim behind structural fastening locations, then join face frames after plumbing the boxes. Check: Verify that the run sits level, plumb, and firmly fastened. Recheck every door and drawer reveal.
Use Cabinetmaking Jigs for Repeatable Accuracy
A jig replaces repeated measurement with a reliable physical stop. Useful options include a hinge-cup guide, drawer-slide spacer, shelf-pin template, crosscut stop, and handle-drilling template. A flat squaring platform also helps during door glue-ups.
Build jigs from stable plywood or MDF. Keep MDF away from wet areas because moisture causes permanent swelling.
Test every jig on scrap that matches the finished component’s thickness. A hinge jig may work on 3/4-inch scrap but fail on a door that became thinner during sanding. Store the setup sample with the jig so you can confirm its orientation later.
A jig cannot prevent tool drift. Router bits can creep, fences can shift, and sawdust can hold a part away from a stop. Inspect the first piece, the last piece, and several parts between them.
Control Grain, Wood Movement, and Finished Reveals
Advanced cabinet work looks deliberate because the woodworker plans grain direction before cutting. Lay adjacent drawer fronts on one board when possible. This method carries the grain across the cabinet. Cut paired door rails from neighboring stock for a closer color and figure match.
Run the grain along the length of each rail and stile. Cross-grain components can move unpredictably and may lack the strength needed at joints.
Solid wood doors need room to expand and contract as humidity changes. The frame controls the door’s shape while the center panel floats in its grooves. Gluing that panel can split the frame or crack the panel.
Pre-finish the edges of a solid center panel before assembly. Otherwise, seasonal shrinkage may expose a pale strip of unfinished wood.
Finish thickness also changes the fit. An inset door with a tight bare-wood gap may bind after primer and paint cover both surfaces. Leave a deliberate reveal and ease hidden edges lightly. Test the fit again after the first finish coats.
Common Cabinetmaking Mistakes
Do not size every door from nominal opening dimensions. Finished face-frame openings often vary slightly. Measure each opening after attaching the frame, then label every fitted door by location.
Avoid forcing poor joinery closed with clamps. Excessive pressure stores stress inside the assembly and can pull a door or cabinet out of square. Recut or adjust the joint before gluing.
Never use drywall screws to install cabinets. Their brittle shanks suit drywall attachment, not structural cabinet loads. Use cabinet screws with heads and shanks designed for this work.
Fasten wall cabinets into studs rather than drywall anchors. A loaded upper cabinet can weigh several hundred pounds. Before installation, locate each stud center and mark it above and below the cabinet line.
Fasten a level ledger board into the studs to support wall cabinets during positioning. The ledger does not replace permanent hardware. Drive approved cabinet screws through sturdy hanging rails or structural backs and into the studs.
Rushed finishing can also damage careful work. Heavy coats may trap moisture or solvent, while soft finishes can stick to bumpers and peel around knobs. Follow the specified recoat and cure times. During early curing, leave doors open or separate contact points with temporary spacers.
Know When to Hire Professional Help
Cabinetmaking stops being a safe solo project when one person cannot control the material. Hire help to lift long wall-cabinet runs, move oversized pantry units, or mount cabinets overhead. Two adults should handle any box that requires simultaneous support, alignment, and fastening.
Secure stud access also matters. Do not mount a heavy cabinet if you cannot verify sound structural fastening points.
Hire a licensed electrician or plumber for new connections, relocated outlets, hardwired lighting, supply-line changes, or drain alterations. Licensed professionals should also handle all gas work. Before removing cabinets, shut off nearby power and water even if the project appears limited to carpentry.
Never notch structural framing, drill into unknown wall cavities, or cover an electrical junction box. Adjust the cabinet plan instead.
Consider professional finishing if you want sprayed conversion varnish or another demanding coating. Solvent spraying requires controlled ventilation, respiratory protection, ignition management, and suitable equipment. Many occupied homes cannot support that setup safely. A properly applied waterborne cabinet coating offers a safer alternative.
Accurate Setup Produces Better Cabinets
The value of Advanced Cabinet Making Techniques lies in protecting accuracy through every stage. Square boxes create reliable face-frame openings. Accurate frames simplify door fitting, and fitted doors keep hinges near the center of their adjustment range.
Work from marked reference surfaces and test each setup on scrap. Dry-fit assemblies before gluing, then measure the finished cabinet before making fitted components. Choose hardware before sizing doors and drawers, and leave solid wood room to move.
Treat the finish as part of the cabinet’s dimensions rather than a decorative final step. Consistent setup and inspection make custom cabinetry repeatable across an entire kitchen, not just one cabinet.