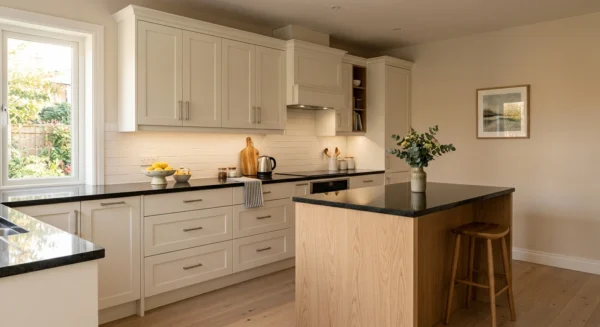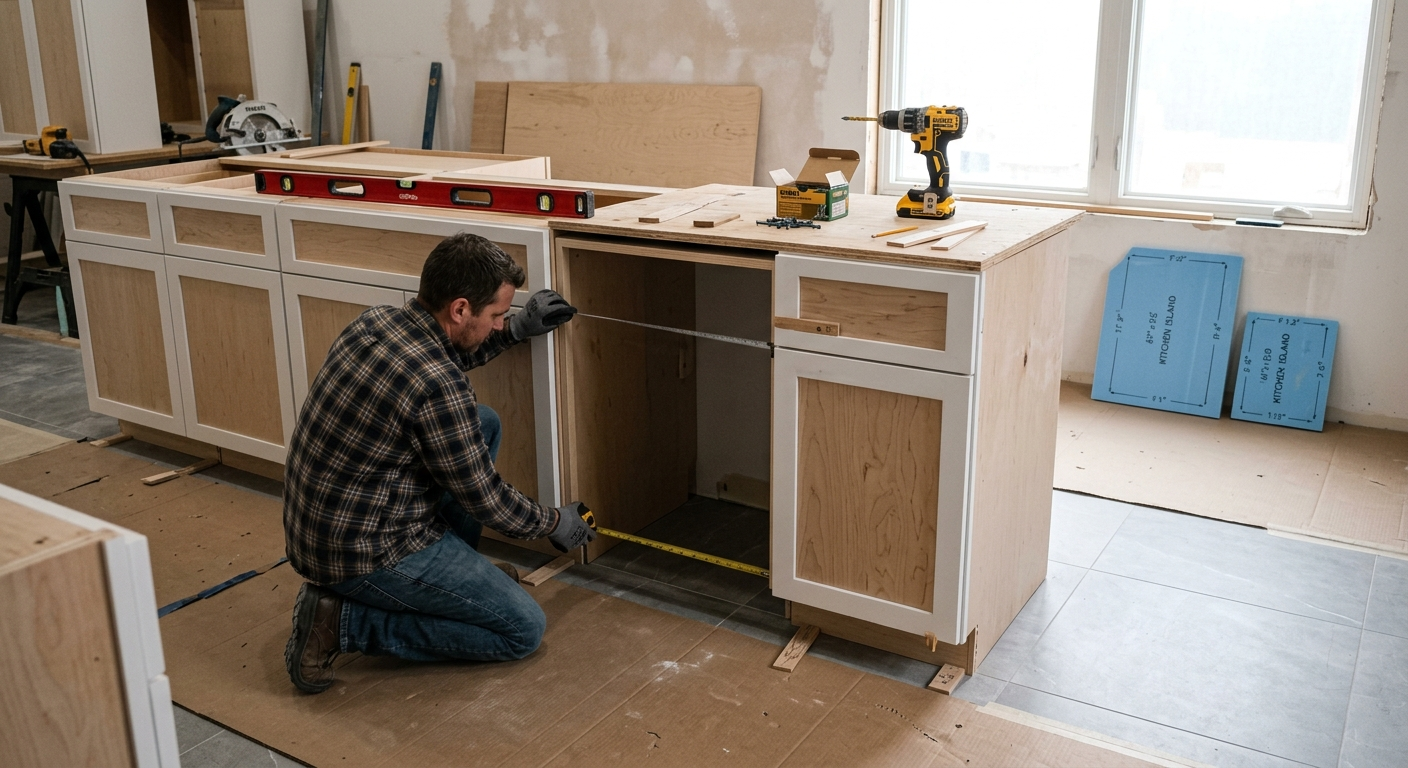
The decision between cabinets or flooring first depends mainly on how the floor attaches. Install finished tile and nailed or glued wood before cabinets in most full kitchen remodels. Install cabinets before floating laminate, floating engineered wood, and click-lock luxury vinyl plank.
Fixed flooring can usually support cabinetry without damage. In contrast, floating flooring needs room to expand and contract. Heavy cabinets can pin the planks, causing buckling, gaps, or failed joints.
Cost, cabinet lead times, and heavy stonework may affect the schedule. However, the flooring installation method should guide the decision. Then check appliance clearances, finished floor heights, and future remodeling plans.
Cabinets or Flooring First: The Practical Verdict
Install tile, site-finished hardwood, nailed engineered wood, and glue-down flooring before cabinets in most cases. A continuous finished surface allows future changes to cabinet runs or islands. It also gives the dishwasher, range, and refrigerator a level floor at the correct height.
Protect the new floor while crews install cabinets and countertops. Use non-staining floor protection, and place clean plywood along material paths. Never drag cabinets, tools, or stone slabs across the finish.
Install cabinets before floating laminate, floating engineered wood, or click-lock luxury vinyl plank. Follow the flooring manufacturer’s instructions if they differ. Most manufacturers prohibit fixed cabinets and islands from sitting on floating planks.
Run a floating floor to the cabinet toe-kick area and leave the required expansion gap. Cover that gap with shoe molding, quarter-round, or a removable toe-kick skin. Fasten the trim to the cabinet or wall, not through the flooring.
| Factor | Flooring First | Cabinets First |
|---|---|---|
| Best fit | Tile, nailed hardwood, site-finished hardwood, and glue-down resilient flooring | Floating laminate, click-lock LVP, and floating engineered wood |
| Flooring cost | Higher because flooring covers the full room | Lower because flooring stops at cabinet and island footprints |
| Timeline | The floor may need installation, protection, drying, or curing before cabinet work | Cabinet work can begin after crews prepare the walls and subfloor |
| Installation work | Crews need careful floor protection and clean material paths | Flooring installers need more edge cuts, measurements, and trim |
| Long-term effect | Fixed flooring remains continuous during many future cabinet changes | Floating flooring retains the movement space needed to prevent failure |
| Future layout changes | Changes usually do not expose unfinished subfloor | Moving cabinets may reveal bare areas that need patching |
| Main risk | Cabinet and countertop work can scratch, stain, or chip the floor | Poor height planning can trap appliances or expose flooring gaps |
How Flooring Type Controls the Installation Order
Tile and Natural Stone
Tile normally goes down before cabinets if the structure can support the tile system. A continuous surface simplifies appliance installation and produces a consistent finished height. It also eliminates narrow tile cuts along each toe kick.
Cabinets can sit on tile, but installers must level them with suitable shims. Grout joints do not provide a dependable leveling surface. Crews should also protect the tile from dropped tools, screws, and cabinet corners.
Large islands with stone countertops create concentrated loads. Plan the framing, underlayment, and island anchoring as one system. Tile cannot compensate for weak framing or an inadequate subfloor.
Keep all movement joints required by the tile manufacturer or industry standards. Do not fill those joints with rigid material, even if cabinets hide them. Cracked grout near an island often signals movement below the tile.
Solid Hardwood and Engineered Wood
Install nailed hardwood and nailed or glued engineered wood before cabinets in many full remodels. First, confirm the required moisture conditions and final floor height. Follow the flooring manufacturer’s acclimation instructions rather than using an arbitrary waiting period.
Solid wood changes width as humidity changes. It still needs expansion space at walls and other fixed obstructions. Cabinet installers should avoid fasteners that interfere with the flooring system’s required movement.
Site-finished hardwood requires time for sanding, staining, coating, drying, and curing. A finish may feel dry while remaining soft enough to mark. Follow the coating manufacturer’s schedule before adding floor protection or moving heavy materials.
Some builders install and finish valuable hardwood after setting the cabinet boxes. They then add toe-kick skins and final trim. This method protects the visible field while keeping finished flooring beneath appliance openings.
Floating LVP, Laminate, and Floating Engineered Wood
Floating flooring usually goes in after the cabinets. Its planks must move together across the room. Fixed base cabinets and stone countertops can restrict that movement.
Do not place fixed cabinets over floating flooring unless the manufacturer gives written approval. Apply the same rule to permanently anchored islands. An island can pin the center of the floor even when the perimeter gap remains open.
Extend the flooring into the dishwasher, refrigerator, and range openings when the product allows it. This creates a smooth path for appliance removal. Stop the flooring at fixed cabinetry and maintain the specified expansion clearance.
Some manufacturers restrict installation beneath appliances because of heat or load limits. In that case, use approved underlayment or plywood to match the finished floor height. Avoid leaving an appliance in a low subfloor pocket.
Use removable toe-kick trim to conceal expansion gaps. Drive nails or brads into the cabinet, wall, or toe-kick skin. Never fasten trim through the floating plank field.
Sheet Vinyl and Glue-Down Resilient Flooring
Sheet vinyl and glue-down LVT do not float, so either installation order can work. Flooring first usually creates the cleanest and most adaptable result. A continuous surface also reduces exposed subfloor in appliance bays.
Resilient flooring needs protection during cabinet installation. A dropped screw can puncture it, while a dragged box can leave a permanent gouge. Repairing sheet vinyl may require a visible patch or replacement of a large section.
Cabinets first may make sense for an inexpensive floor and a fixed cabinet layout. If you choose this order, build every appliance opening to the finished floor height. Use matching flooring or equal-thickness underlayment beneath the dishwasher, range, and refrigerator.
Do not leave appliances below the surrounding floor. A finished appliance bay also makes small leaks easier to spot and clean. Confirm that all materials meet the appliance and flooring manufacturers’ requirements.
Cost Differences Between the Two Sequences
For 2026 planning in a medium-cost U.S. metropolitan area, floating LVP and laminate may cost $4 to $10 per square foot installed. Engineered wood commonly runs $8 to $18, while solid hardwood may cost $10 to $22. Tile often ranges from $10 to $30 or more.
These figures provide working allowances, not national averages or contractor quotes. Demolition, subfloor repairs, stairs, patterns, tile size, wood grade, and labor rates can change the price. Natural stone, handmade tile, and extensive floor flattening can cost more.
A 10-by-10-foot cabinet and island footprint covers about 100 square feet. Extending flooring beneath that area raises both material and labor costs. The effect may be minor with basic vinyl but substantial with premium stone or hardwood.
Flooring first favors future flexibility, continuous coverage, and easy appliance access. Cabinets first reduces hidden flooring and correctly protects floating products. Any savings can disappear if crews must correct appliance heights or difficult edge details.
Appliance Height Can Change the Plan
Poor sequencing most often traps the dishwasher. Standard base cabinets measure 34.5 inches high and 24 inches deep. A typical countertop brings the total working height to about 36 inches.
Suppose cabinets sit on the subfloor and thick tile goes only in front of them. The finished floor then reduces the usable dishwasher opening. A unit that fits during construction may become impossible to remove after a leak or mechanical failure.
Create a finished, level path into the dishwasher opening. Before countertop templating, check the appliance manufacturer’s required width and height. Include flooring, underlayment, countertop thickness, and any mounting hardware in the calculation.
The range and refrigerator should usually sit at the same height as the surrounding walking surface. Follow their installation instructions if they require a different setup. Also confirm that refrigerator doors clear walls, panels, handles, and countertop overhangs.
Do not correct a height problem by cutting structural cabinet parts without approval. Ask the cabinetmaker and countertop fabricator to review the change. Reduced cabinet support can damage both the boxes and the countertop.
Islands, Toe Kicks, and Finished End Panels
A standard cabinet toe kick measures about 4.5 inches high and 3 inches deep. It provides foot space and conceals flooring edges. A removable toe-kick skin can also hide the expansion gap around a floating floor.
Finished end panels need more planning because people can see their lower edges. Account for the full flooring and underlayment thickness before ordering or cutting panels. Otherwise, installers may leave a visible gap or need awkward field scribing.
Secure islands to the structure rather than setting them loosely on the finished floor. For floating flooring, attach cleats or mounting blocks to the subfloor first. Leave the required clearance around each block and hide it beneath the island or trim.
Never drive island anchors through floating planks. With fixed flooring, installers may set the island over the finished surface. However, all fasteners must still reach structural blocking or another approved substrate.
How to Coordinate the Remodel Schedule
Start with a simple elevation plan. Record the subfloor height, flooring thickness, underlayment, cabinet height, countertop thickness, and appliance openings. Mark transitions, exposed cabinet ends, fixed cabinets, and possible future layout changes.
Next, confirm how the flooring attaches. Check whether the manufacturer specifies floating, nailed, glued, or mortar-set installation. Written product instructions should take priority over a crew’s usual routine.
A typical full remodel follows this order:
- Complete demolition.
- Repair framing and the subfloor.
- Finish rough electrical, plumbing, and gas work.
- Complete drywall and painting work as appropriate.
- Install fixed flooring when the plan calls for it.
- Install cabinets and secure islands.
- Template and install countertops.
- Complete the backsplash, appliance connections, and trim.
For a floating floor, install cabinets before the flooring. Add toe kicks, shoe molding, and related trim afterward. Cabinet lead times may change the calendar, but they do not change the floor’s technical requirements.
Keep cabinet boxes off unprotected wood and resilient flooring. Grit beneath cardboard can scratch a finish as workers shift the boxes. Use clean, non-staining protection that meets the flooring manufacturer’s instructions.
Installation Safety and Structural Requirements
Shut off power and water before working near outlets, switches, or plumbing lines. Shut off gas if the work may affect a gas appliance or pipe. Verify each shutoff instead of trusting a label.
Licensed trades should handle new or relocated electrical, plumbing, and gas connections as local rules require. Before drilling, locate hidden wiring, tubing, and pipes. Flooring fasteners and cabinet screws can puncture concealed services.
Fasten wall cabinets to studs or structural blocking, never to drywall anchors alone. Loaded upper cabinets can carry several hundred pounds. Mark the studs and use a level temporary ledger to support each cabinet during installation.
Use proper cabinet installation screws instead of brittle drywall screws. Upper cabinets commonly measure 12 to 13 inches deep and 30, 36, or 42 inches tall. Installers often leave 18 inches between the countertop and upper cabinets.
Confirm those measurements against the cabinet design and appliance specifications. Range hoods, microwaves, backsplash layouts, and local codes may require different clearances.
Common Cabinet and Flooring Sequencing Mistakes
- Pinning a floating floor: Cabinets, islands, or trim restrict plank movement and cause gaps, buckling, or joint damage.
- Leaving the dishwasher below the finished floor: Thick flooring creates a lip that traps the appliance beneath the countertop.
- Skipping floor protection: Grit, screws, ladders, and countertop carts scratch or chip a new floor.
- Ignoring finished floor height: Added thickness changes appliance openings, doorway transitions, panel alignment, and toe-kick proportions.
- Treating every vinyl floor alike: Glue-down LVT and click-lock LVP require different installation sequences.
- Fastening trim through floating planks: Nails prevent movement when they pass through the floor.
- Stopping flooring at appliance fronts: The unfinished edge blocks smooth appliance removal.
- Forgetting future changes: Moving a cabinet or island may expose bare subfloor.
Making the Final Installation Decision
Choose flooring first for tile, nailed or glued wood, glue-down resilient flooring, and other fixed systems. This order works especially well if you may change the cabinet layout later. It also gives appliances a continuous finished surface.
Choose cabinets first when the floor floats or the manufacturer prohibits fixed cabinetry above it. This order can also reduce costs when an expensive finish would remain hidden. Still, appliance bays need a finished or properly built-up surface.
If the flooring instructions conflict with the cabinet plan, pause the project. Ask the flooring installer, cabinet installer, and countertop fabricator to review one elevation drawing. They should resolve appliance openings, island anchoring, panel lengths, and expansion gaps before work continues.
The right answer to cabinets or flooring first does not depend on which crew arrives sooner. It depends on the flooring system, cabinet anchors, finished heights, and appliance access. Careful planning prevents trapped dishwashers, buckled floors, short panels, and costly rework.