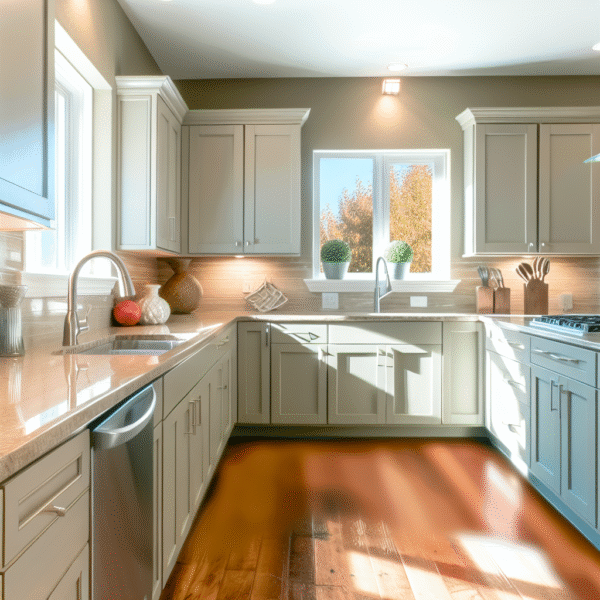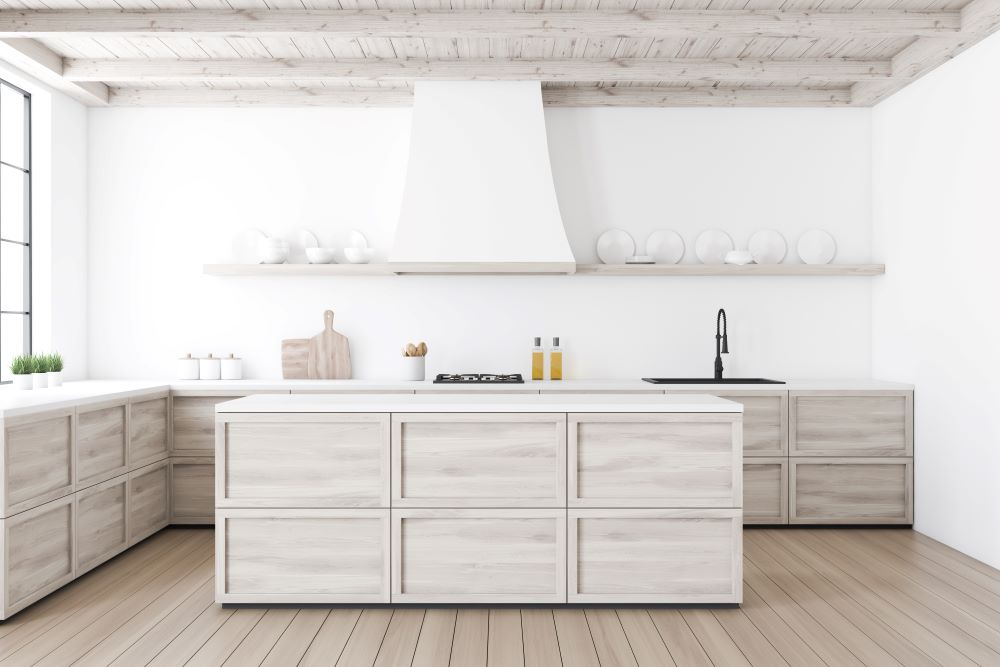
A kitchen island adds functionality, storage, and a focal point to your kitchen. Building a kitchen island using base cabinets is a cost-effective and customizable solution. With the right tools and materials, you can create a stylish and functional island that perfectly suits your needs. Follow this step-by-step guide on how to make a kitchen island out of base cabinets and enjoy the new addition to your home.
Materials and Tools Needed:
Before beginning, make sure you have all the necessary materials and tools on hand. The quality of your materials will directly impact the durability and aesthetic appeal of your finished kitchen island. Take the time to measure and plan out your design carefully to ensure a smooth building process and a great final result.
- Base cabinets (typically 24 inches deep)
- Countertop material (e.g., butcher block, granite, laminate)
- Plywood or MDF panels
- Trim or molding (optional)
- Screws
- Screwdriver or drill
- Level
- Measuring tape
- Circular saw or table saw
- Sandpaper
- Wood glue
- Paint or stain (optional)
- Varnish or sealer (optional)
Step 1: Planning and Design
Begin by determining the size and shape of your kitchen island, keeping in mind the available space and your specific requirements. Choose base cabinets that fit your design and measurements, making sure they are the right height and depth for comfortable use. Select a countertop material that complements your kitchen decor and meets your needs for durability and maintenance.
Step 2: Preparation
Clear the area where the island will be placed. Measure and mark the dimensions of the island on the floor, ensuring there is enough clearance from surrounding cabinets, appliances, and walls.
Step 3: Assembling the Base
Remove the doors and drawers from the base cabinets to make installation easier. Position the base cabinets in the marked area, ensuring they are level and aligned. Secure the cabinets together with screws through the side panels or back. For extra strength and stability, use wood glue. Double-check that the cabinets are level and make adjustments as necessary.
Step 4: Installing the Countertop
Cut the plywood or MDF panels to match the dimensions of the island top using a circular saw or table saw for precise cuts. Attach the panels to the top of the base cabinets with screws from underneath. If you like, add decorative trim or molding around the edges of the countertop for a more finished look.
Step 5: Finishing Touches
Sand any rough edges or surfaces of the island to ensure a smooth finish. Apply paint or stain to the base cabinets and exposed sides of the island to match your kitchen decor. Be sure to allow proper drying time between coats. Optionally, apply a varnish or sealer to protect the wood and enhance its durability. Once the finish has dried, reattach the doors and drawers to the base cabinets. You can also install additional accessories, such as hooks, towel bars, or shelves, to enhance the island’s functionality and organization.
Step 6: Placement and Final Adjustments
Carefully move the completed kitchen island into its designated position. Ensure that the island is level and adjust the height of the cabinets if necessary. Make final adjustments to the doors, drawers, or hardware to ensure smooth operation.
By following these steps, you will have successfully created a kitchen island from base cabinets. Enjoy the added workspace, storage, and aesthetic appeal that your custom-built island brings to your kitchen. Customize it further with bar stools, lighting, or other accessories to create a welcoming and functional centerpiece in your culinary space.
Final Thoughts
Building a kitchen island out of base cabinets is an affordable and customizable way to add both style and functionality to your kitchen. By following these steps, you can create a personalized island that suits your space and needs. The project allows for flexibility in design, materials, and finishes, ensuring that your new kitchen island complements your overall décor. Whether you’re looking for extra storage, more counter space, or a stylish focal point, this DIY project can provide the perfect solution. With patience and attention to detail, you’ll have a beautiful and functional kitchen island that enhances the heart of your home.