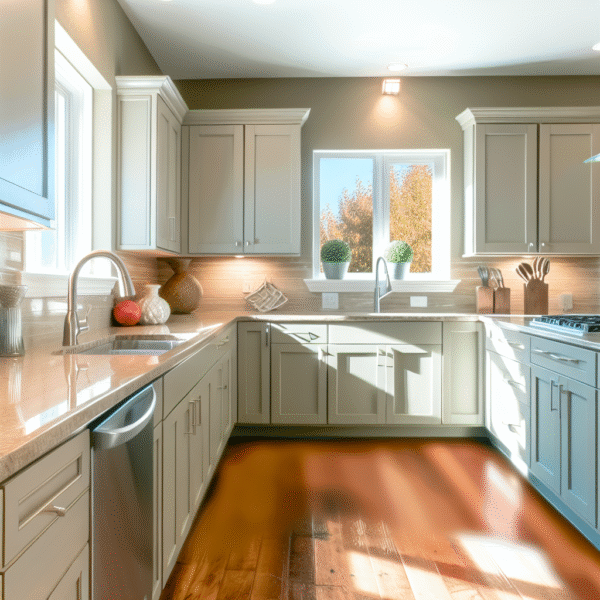
Shaker cabinets have earned a well-deserved reputation as a beloved and enduring cabinet style. Rooted in the Shaker community’s ethos of simplicity, practicality, and fine craftsmanship, these cabinets have transcended time and remain a popular choice for kitchens and other spaces. If you’re interested in learning how to build Shaker cabinets, you’ll appreciate their clean lines, square edges, and lack of excessive ornamentation, making them a timeless and versatile addition to any home.
The Shakers, a religious sect that emerged in the 18th century, emphasized minimalism and utility in all aspects of their lives, including furniture and cabinetry. The design philosophy of Shaker cabinets focuses on functionality and simplicity, showcasing their commitment to form following function. This timeless aesthetic ensures that Shaker cabinets blend effortlessly with a variety of interior design styles, from traditional to contemporary.
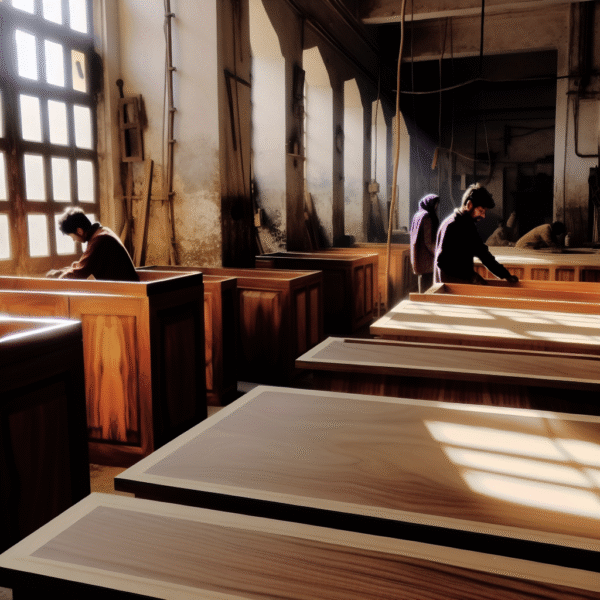
Beyond their elegant appearance, Shaker cabinets are built to be functional and durable. Crafted with meticulous attention to detail, these cabinets are designed to withstand daily use. The focus on quality craftsmanship, often utilizing techniques such as mortise and tenon or dovetail joints, ensures their long-lasting performance and durability. By learning how to build Shaker cabinets, you’re investing in both style and resilience.
The appeal of Shaker cabinets extends beyond their aesthetic and practical qualities. Their historical significance as a representation of the Shaker community’s commitment to simplicity and craftsmanship adds a layer of cultural appreciation to these cabinets. By incorporating Shaker cabinets into your space, you pay homage to a rich heritage while enjoying their timeless elegance and functionality.
In this comprehensive guide, we’ll cover how to build Shaker cabinets, detailing each step in the process.
Tools and Materials Needed
Before you begin building your Shaker cabinets, gather the necessary tools and materials. The process requires both basic woodworking tools and some specialty equipment to ensure precision. A table saw or circular saw is essential for cutting wood accurately, while a miter saw or miter box will help you achieve clean cuts for the door frames. You’ll also need a router with a straight bit to create grooves for the door panels. Wood glue and screws will be used for securing joints, and clamps will help hold everything in place as you work. Finally, sandpaper, paint or stain, and varnish or sealer will be needed to finish the cabinets and add a professional touch. Properly gathering all tools and materials before starting ensures a smoother workflow and better results.
Step 1: Design and Planning
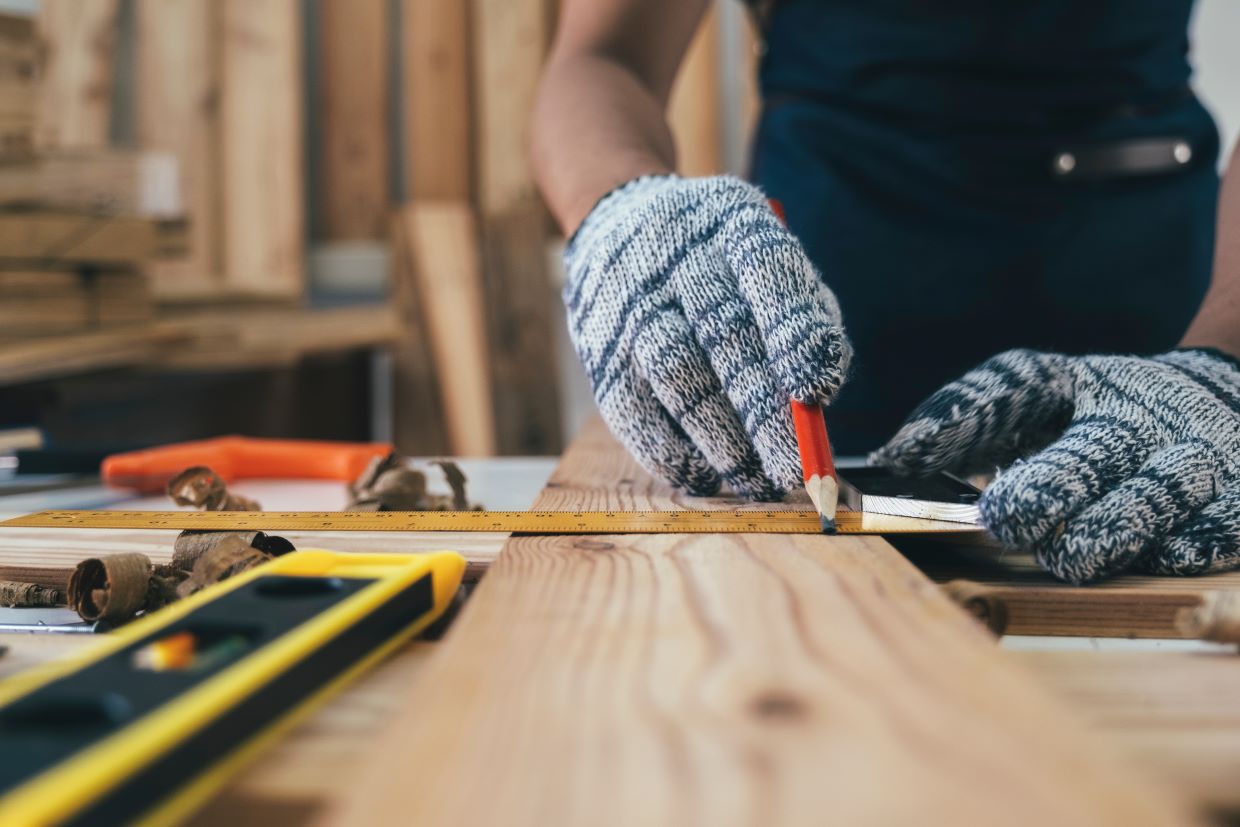
Begin by measuring the dimensions of your space and determining the desired size and layout of your cabinets. Sketch out the design, taking into account the number of doors, drawers, and any specialized features, such as pull-out shelves or spice racks. Once you have your design, calculate the amount of wood and materials needed for the project.
Step 2: Building the Cabinet Boxes
Cut the plywood or solid wood panels into the appropriate sizes for the cabinet boxes using a table saw or circular saw. Assemble the cabinet boxes with wood glue and screws. A pocket hole jig will help you create strong and concealed joints. Install shelf supports or adjustable shelving based on your design.
Step 3: Constructing the Cabinet Doors
For the cabinet doors, cut the plywood or solid wood panels to the desired size. Use a router with a straight bit to create a groove around the inside edges of the door panels. Cut the rails and stiles for the door frames with a miter saw or miter box, ensuring that they fit perfectly with the grooves in the door panels. Assemble the door frames by applying wood glue to the joints and securing them with screws or dowels. Finally, insert the door panels into the grooves and secure them with a small amount of wood glue.
Step 4: Finishing and Installation
Sand all surfaces of the cabinet boxes, doors, and drawers to achieve a smooth finish. Apply paint or stain to the surfaces, following the manufacturer’s instructions and allowing adequate drying time between coats. To enhance durability and give the cabinets a professional finish, apply a protective varnish or sealer (optional).
Attach cabinet hardware, such as handles, knobs, and hinges, to the doors and drawers. Mount the cabinets onto the wall, ensuring they are level and securely attached to studs or wall anchors. Finally, make any necessary adjustments to ensure the doors and drawers align properly and function smoothly.
Final Thoughts
Building Shaker cabinets requires precision and attention to detail. With patience and proper planning, you can create beautiful and functional cabinets that fit your space and style. Prioritize safety, use the right tools and materials, and consult professional resources or experts if needed. By learning how to build Shaker cabinets, you’ll enjoy the satisfaction of constructing custom pieces that add character and elegance to your home.