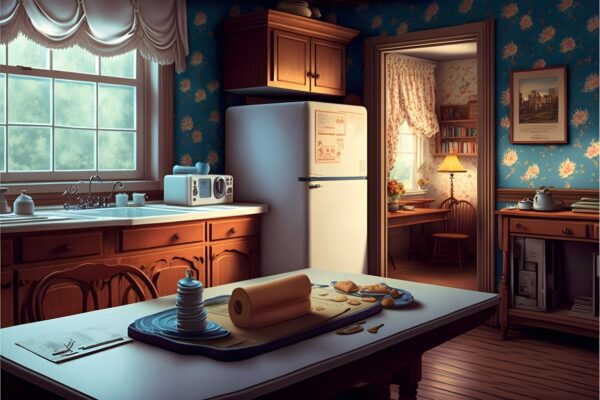
Cabinets are more than just storage units; they play a pivotal role in shaping the aesthetics of your home. If you’re looking to rejuvenate your living space without burning a hole in your pocket, a DIY cabinet makeover could be your answer. With a dash of creativity, a pinch of effort, and a touch of innovation, you can give your cabinets a fresh lease on life. This comprehensive guide takes you through each step of the process, from painting to hardware upgrades and refinishing techniques, helping you achieve a transformation that’s both impactful and budget-friendly.
Step 1: Assess Your Cabinets
Before diving into your DIY cabinet makeover project, take a moment to evaluate your cabinets. Check for any structural issues, note down repairs that are required, and consider how your cabinets fit within the overall aesthetics of your space. This evaluation will help you plan your makeover effectively, ensuring that the end result aligns perfectly with your vision.
Step 2: Choose Your Color Palette
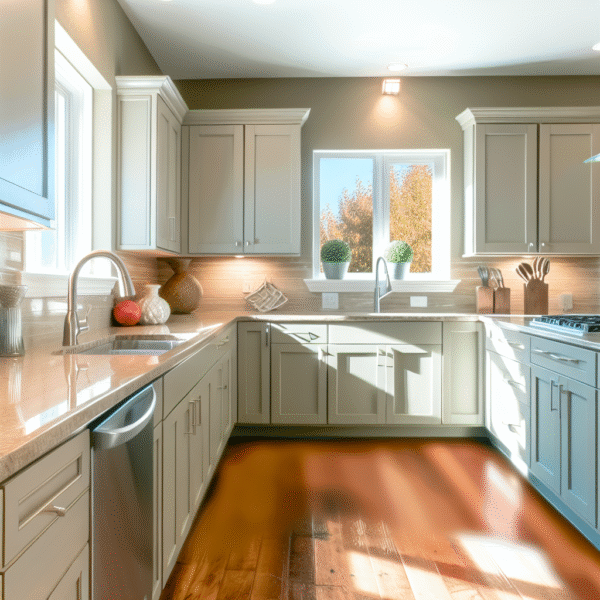
The choice of colors can set the tone for your entire living space. Whether you’re aiming for a subtle refresh or a bold statement, your chosen color palette will dictate the overall mood of the room. Lighter shades can create an illusion of space and airiness, while deeper tones can add warmth and depth. Take into consideration your existing decor and the ambiance you want to create. Once you’ve settled on your palette, gather the necessary painting supplies.
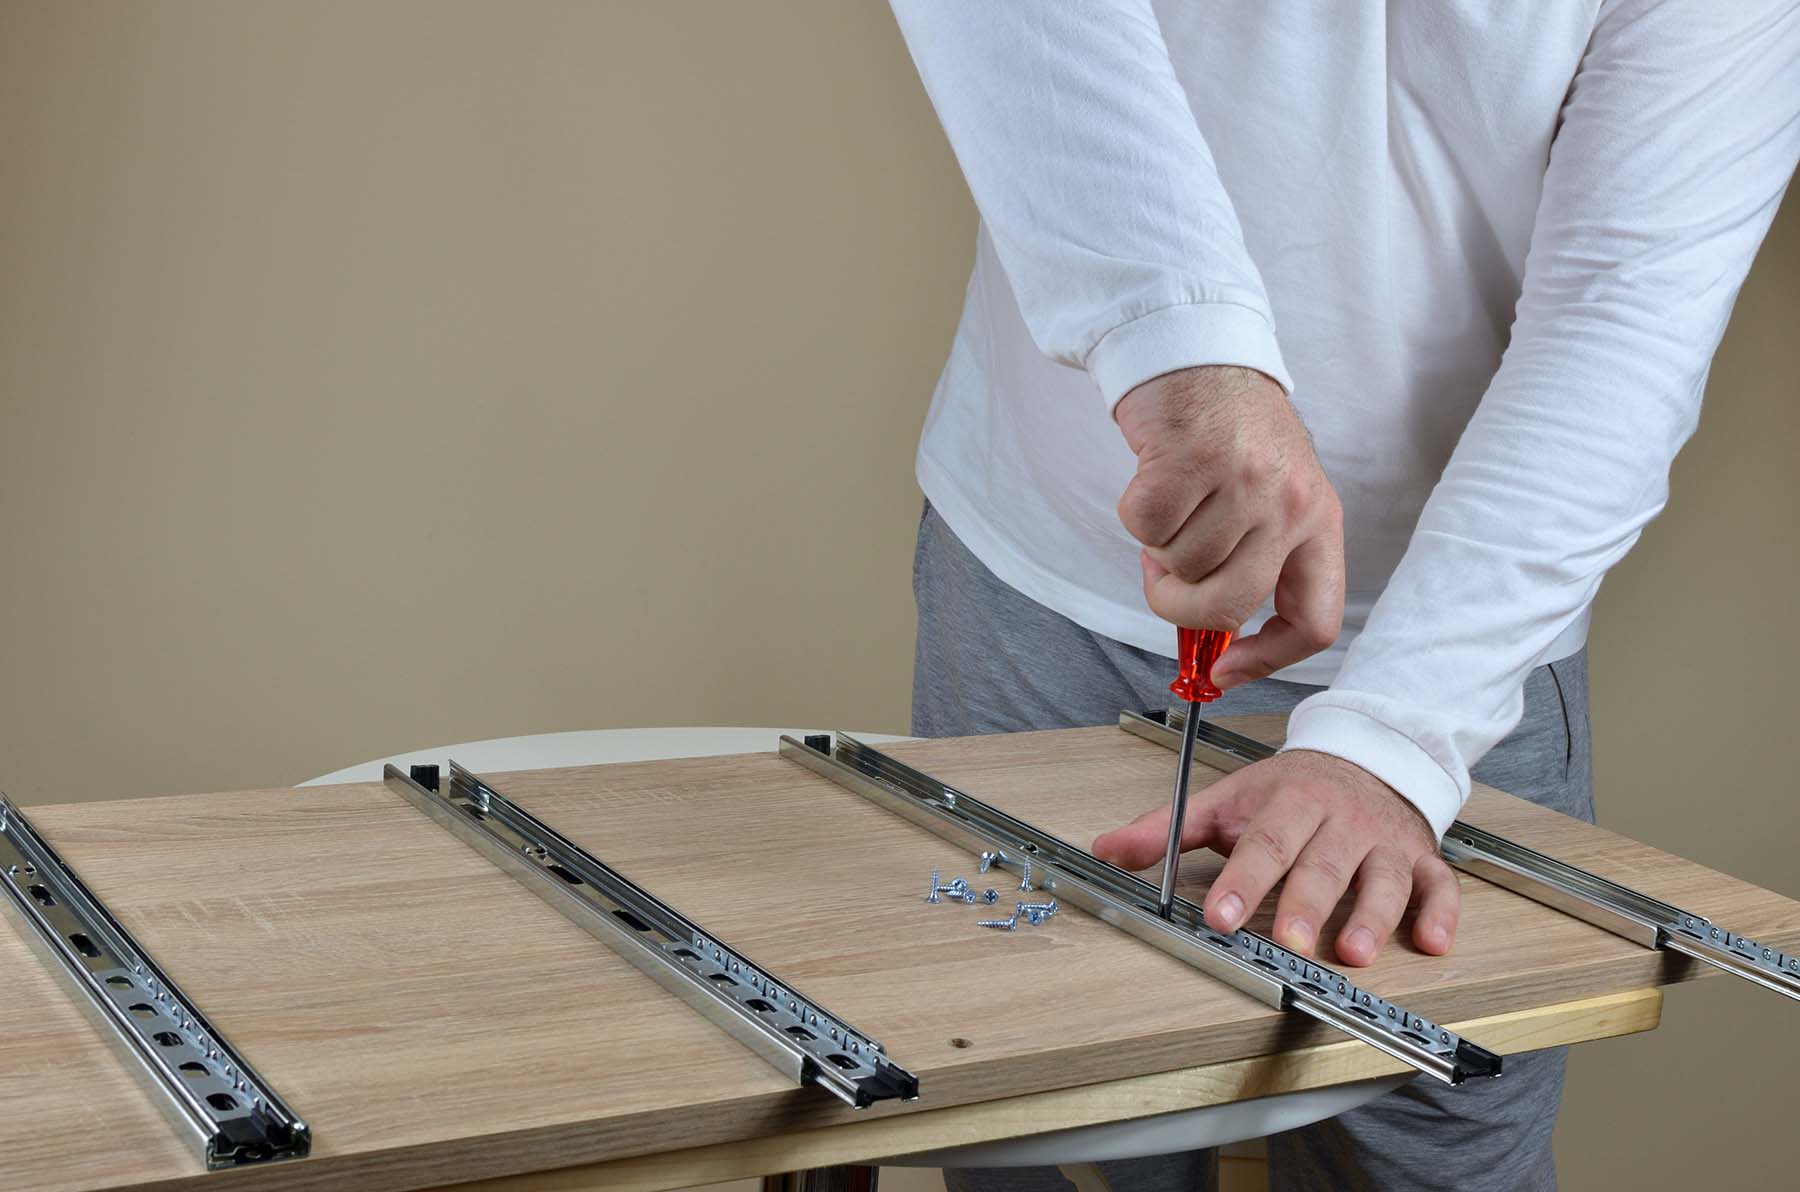
Step 3: Remove Cabinet Doors and Hardware
For a professional finish, it’s imperative to remove cabinet doors and hardware before starting the painting process. Using a screwdriver, carefully detach hinges, knobs, and handles. Lay the cabinet doors on a flat surface in a well-ventilated area. This step ensures that you can paint the doors evenly, preventing any unsightly drips and achieving a flawless outcome.
Step 4: Prep and Prime
Preparation is the key to a successful cabinet makeover. Begin by thoroughly cleaning the cabinet surfaces to remove grease, dirt, and grime. Gently sand the surfaces to create a smooth texture that facilitates better paint adhesion. Applying a high-quality primer is essential—it not only ensures better paint coverage but also enhances the longevity of your makeover. Allow the primer to dry completely before moving on to the next step.
Step 5: Painting with Precision
Achieving a smooth and even paint finish requires attention to detail. Use a brush or roller to apply the paint in thin, consistent coats. Opt for multiple thin coats over a single thick one to avoid drips and ensure even coverage. If you’re looking for a professional result, consider using a paint sprayer. Patience is key—allow each coat to dry thoroughly before applying the next.
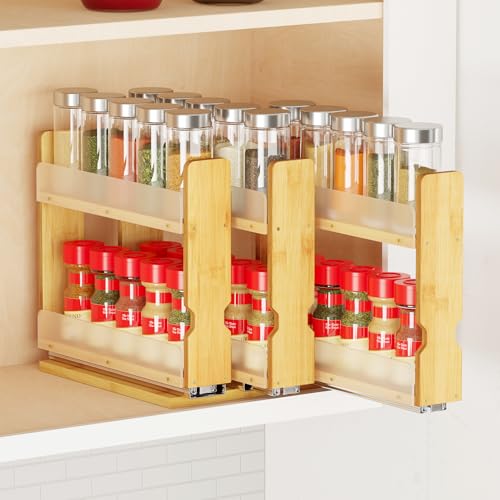
Step 6: Upgrading Cabinet Hardware
Cabinet hardware can make a significant difference in the overall look of your cabinets. Consider upgrading knobs, pulls, and handles with new options that align with your desired style. This simple change can create a cohesive and polished appearance. Make sure the new hardware aligns with existing holes or be prepared to fill and drill new ones as needed for a seamless upgrade.
Step 7: Exploring Refinishing Techniques
For cabinets with a natural wood finish, refinishing techniques can restore their beauty and charm. Techniques such as staining, distressing, antiquing, or whitewashing can add character and uniqueness to your cabinets. Experiment with these methods on spare wood pieces before applying them to your cabinets to achieve the desired effect.
Step 8: Reassemble and Enjoy
After ensuring that your cabinets are completely dry and that the hardware is correctly installed, it’s time to reassemble them. Carefully attach the cabinet doors, ensuring they are level and properly aligned. Tighten the hinges and screws securely to ensure stability. Take a step back and admire the impressive transformation you’ve accomplished through your DIY cabinet makeover.
Your Personal Touch
A DIY cabinet makeover isn’t just about altering the appearance of your cabinets—it’s about breathing new life into your living space. By following each step diligently and adding your personal touch, you’ve embarked on a journey that combines creativity with affordability. Your cabinets now reflect your style, preferences, and innovation, resulting in a space that’s uniquely yours. Your dedication and DIY efforts have transformed your cabinets into the centerpiece of a personalized haven, proving that a little time, commitment, and imagination can yield remarkable results.