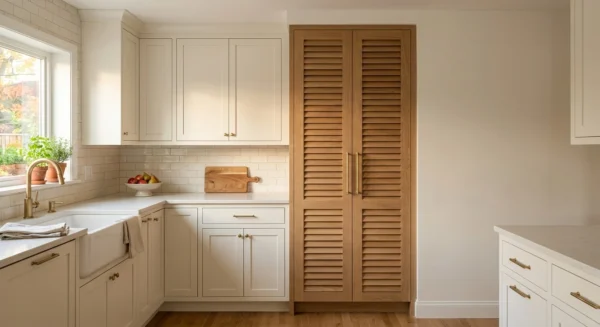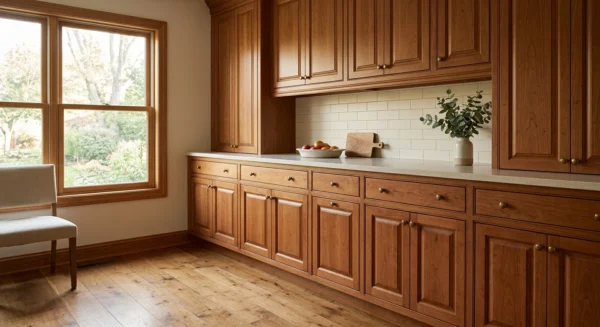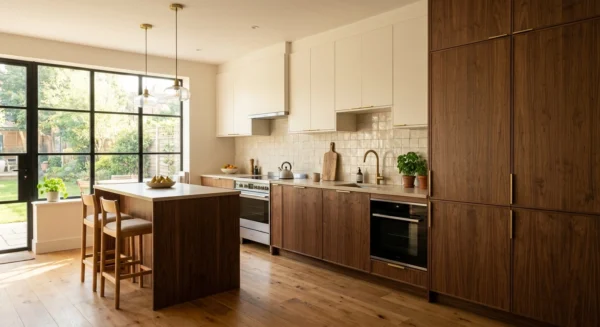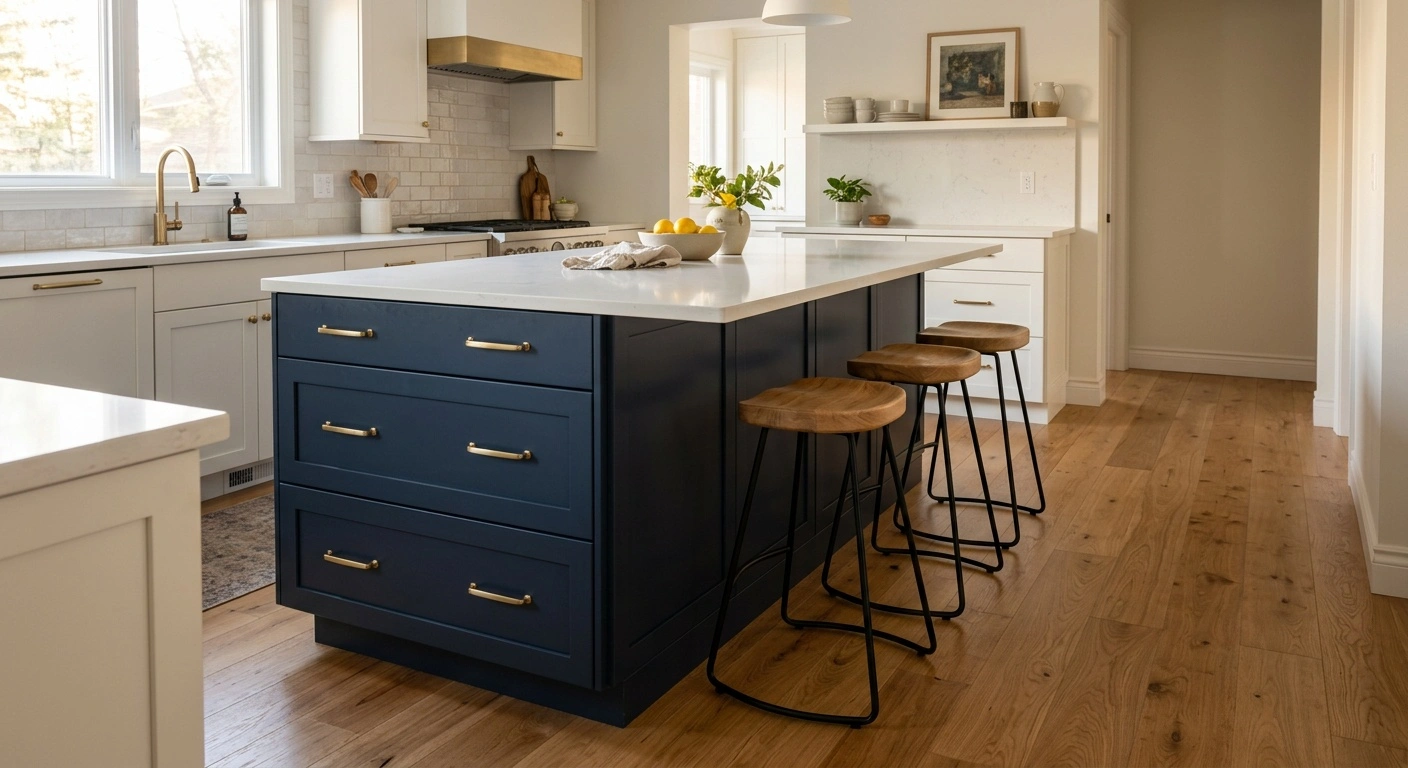
A kitchen island cabinet base usually starts with 34.5-inch-high, 24-inch-deep base cabinets. A typical countertop brings the finished work surface to about 36 inches high. Stock and semi-custom cabinets often range from 9 to 48 inches wide, usually in 3-inch increments. Standard sizes simplify the selection of doors, hardware, appliances, and countertops.
Most toe kicks measure about 4.5 inches high and 3 inches deep. However, the seating side may use finished panels instead of a recessed toe kick. Shallow cabinets, deep storage bases, accessible work surfaces, and two-level islands require more detailed planning.
Back-to-back 24-inch cabinets can create an island nearly 50 inches deep after adding panels and countertop projections. That depth provides storage, but it may leave the center difficult to clean or reach. Size the base around clearances and kitchen tasks, not the largest footprint that fits.
Standard Kitchen Island Cabinet Base Dimensions
Finished island dimensions exceed the cabinet measurements. End panels, fillers, decorative doors, handles, and countertop projections all add inches. For example, two 30-inch cabinets create a nominal 60-inch run. Two 3/4-inch end panels increase the casework width to 61.5 inches.
Stone and quartz countertops often project 1 to 1.5 inches beyond finished cabinet faces. The countertop fabricator should determine the final projection. Seating overhangs require more depth and may need steel brackets, corbels, or a framed support.
Never assume a thick countertop can support any overhang. Safe spans depend on the material, thickness, seams, and fabricator requirements. A standard 24-inch cabinet with front and rear projections often produces a 26- to 27-inch-deep countertop.
| Element | Common dimension | Planning effect |
|---|---|---|
| Standard base cabinet height | 34.5 inches | Reaches about 36 inches with a typical countertop |
| Standard base cabinet depth | 24 inches | Fits standard doors, drawers, sinks, and many undercounter appliances |
| Standard cabinet widths | 9 to 48 inches in 3-inch increments | Allows several modules to form the island run |
| Typical toe kick | About 4.5 inches high and 3 inches deep | Provides foot room on working sides |
| One-sided seating overhang | Often 12 to 15 inches at counter height | May need support; confirm requirements with the fabricator |
| General walkway | At least 36 inches as a practical starting point | Allows passage but may not suit an active work aisle |
| Working aisle | About 42 inches for one cook; 48 inches for multiple cooks | Measure between countertop edges, handles, and other projections |
Size the Island from the Clearances Inward
Measure the open floor area before selecting cabinets. Then subtract the required clearances to find the maximum countertop footprint. Measure from the proposed countertop edge to the nearest projecting surface.
Include refrigerator handles, range handles, surrounding countertops, and wall trim. Aim for a 42-inch work aisle when one person usually cooks. Increase that distance to about 48 inches for multiple cooks or appliance doors that open into the aisle.
A 36-inch passage may work on a nonworking side. However, that space can feel tight behind occupied stools or near a swinging door. Check whether an open dishwasher blocks the sink, trash pull-out, or main traffic route.
Painter’s tape can show the footprint, but boxes or a plywood mock-up show the island’s bulk more accurately. Open nearby doors and place stools around the mock-up. Reduce the footprint if people must turn sideways or appliance doors collide.
Choose the Right Kitchen Island Cabinet Base Configuration
The simplest layout uses a straight cabinet run with finished ends and a finished back. It places drawers and doors on the working side. The opposite side can then support seating or decorative panels.
Back-to-back base cabinets provide substantial storage, but they create about 48 inches of cabinet depth. The resulting countertop may become difficult to reach across. In many kitchens, one 24-inch-deep cabinet row offers a more practical layout.
You can add 12- to 15-inch-deep storage on the back when the room allows. Use purpose-built shallow bases or suitable wall cabinets designed for supported floor installation. Ordinary wall cabinets need a proper platform, toe kick, and anchoring system.
An L-shaped or T-shaped base can separate prep space from seating. Plan corner fittings carefully because unplanned inside corners waste storage. Furniture-style legs create a lighter appearance, but they reduce knee room and complicate anchoring.
Plan Drawers, Doors, and Interior Storage
Wide drawer bases often work better than door cabinets for cookware, dishes, bowls, and small appliances. A 30- or 36-inch three-drawer base can hold bulky items. Narrow drawers suit utensils, wraps, and cutting tools.
Check drawer-slide ratings before storing cast iron, stacked dishes, or countertop appliances. The cabinet manufacturer’s specified slides determine the actual capacity. Full-extension undermount slides provide broad access while hiding the hardware.
Undermount slides reduce the drawer box dimensions and require compatible replacement parts. Side-mount slides remain visible and consume side clearance. However, they can make adjustment and replacement more straightforward.
Door cabinets often cost less, but fixed rear shelves can prove awkward in a 24-inch-deep box. Specify roll-out trays when the budget permits. Measure actual objects before ordering because nominal cabinet width does not equal usable interior width.
Tray dividers need enough height for sheet pans and cutting boards. Mixer lifts require strong cabinets, suitable hardware, and clear space above. Verify every fitting against the cabinet’s interior dimensions.
Design the Working Side Around Kitchen Tasks
Place each storage feature beside the task it serves. A prep zone benefits from a wide tool drawer and lower drawers for mixing bowls. Keep a trash pull-out within one step of the work surface.
Position the trash cabinet so it does not obstruct the dishwasher or sink. Near a range, drawers can store pots and cooking utensils. Follow the appliance manufacturer’s rules for ventilation, combustible materials, and countertop clearances.
A sink base loses considerable storage to the bowl, drain, disposal, valves, and supply lines. Do not count it as a full storage cabinet. A false drawer front adds visual consistency but provides no storage unless it holds a tip-out tray.
A baking island may benefit more from uninterrupted countertop space and deep ingredient drawers than from a sink. Let the main task guide the cabinet plan. A practical layout limits cross-traffic and keeps open doors away from seated people.
Allow Enough Space for Island Seating
Counter-height seating normally pairs with a worktop around 36 inches high. Comfortable knee space depends on the countertop overhang, stool shape, and user height. Overhangs commonly range from 12 to 15 inches at counter height.
A 15-inch overhang usually gives adults more knee room. Allow about 24 inches of width per stool as a practical minimum. Provide extra width for stools with arms or seats used for full meals.
Keep cabinet stiles, corbels, outlets, and table legs away from the center of each seating position. Decorative legs may support the top, but they reduce usable knee space. Deduct their full footprint when calculating stool spacing.
The aisle behind diners should exceed an ordinary passage because stools and people extend beyond the countertop. Mock up an occupied stool and the traffic path. Measure from the stool position rather than the cabinet box.
Shallow cabinets beneath an overhang can add occasional storage. Store infrequently used items there because stools block regular access. Confirm that cabinet doors can open without striking the supports.
Fit Sinks, Dishwashers, and Appliances into the Base
A sink island often needs space for a sink base, dishwasher, trash pull-out, and countertop landing area. Check the sink’s exterior dimensions and mounting clips against the clear cabinet opening. A nominal sink size may require a wider base than expected.
A standard dishwasher needs an opening close to 24 inches wide. Use the installation manual for exact width, height, toe-kick clearance, attachment, and hose-routing requirements. Support the countertop at both sides of the opening.
Install a finished, structural panel when the dishwasher ends the cabinet run. Undercounter refrigerators and microwave drawers also need manufacturer-specified ventilation and clearances. Do not estimate the opening from the appliance face.
An island cooktop consumes storage and requires careful planning for ventilation, utilities, and seating clearance. Downdraft ductwork may displace drawers or require floor alterations. Obtain exact appliance specifications before ordering cabinets.
Draw every appliance cutout, utility route, filler, and finished panel in plan and section views. These drawings reveal conflicts that a floor plan may hide. Review them with the cabinet supplier and appliance installer.
Coordinate Utilities Before Cabinet Installation
Island utilities usually pass through the floor, so locate them before anchoring the cabinets. Establish fixed reference points and verify the final footprint before rough-in. Even a small shift can misalign several utility penetrations.
Turn off power, water, and gas before working near cables or piping. Hire licensed trades for new electrical, plumbing, and gas connections. Check local permit requirements before opening the floor.
Electrical rules for island receptacles vary by code edition and jurisdiction. Do not copy an older kitchen’s outlet arrangement without checking current local requirements. Coordinate receptacles and listed pop-up fittings with the countertop fabricator and cabinetmaker.
Keep plumbing valves accessible and route supply and drain lines away from drawer slides. Before drilling, locate radiant heating, post-tension cables, pipes, and wiring. Never assume a slab or finished floor contains a safe drilling area.
Build a Base That Supports the Countertop
An island cabinet needs a square, rigid carcass and reliable joinery. It also needs enough top support for the selected countertop. Cabinet-grade plywood holds screws well and offers good structural strength.
Engineered furniture-grade particleboard can perform well when it stays dry. However, particleboard is not plywood. MDF suits smooth painted panels, but water can permanently swell an unsealed edge.
Protect sink bases around cutouts, pipe penetrations, and the cabinet floor. Slow leaks often remain unnoticed for long periods. A removable waterproof tray can limit damage and make leaks easier to detect.
Stone tops may require full-height panels, stretcher rails, a subtop, or steel reinforcement. The fabricator should specify support based on spans, seams, and material thickness. Resolve large openings before countertop templating.
Decorative backs and end panels do not always carry structural loads. Ask which components support the countertop. The cabinet installer, fabricator, and appliance installer should agree on those details in advance.
Use Fillers and Finished Panels Deliberately
Fillers prevent doors, drawers, pulls, and appliance handles from colliding. An end cabinet may need extra clearance beside a perpendicular panel or decorative leg. Include every filler in the finished island dimensions.
Full-height applied panels conceal cabinet seams and create a furniture-style end. A continuous painted back often looks cleaner than several joined cabinet backs. Flat panels also cost less and remain easier to wipe clean.
Shaker-style panels can repeat the cabinet doors. Align rails and stiles carefully to avoid narrow or uneven sections. Review drawings of every visible face before ordering.
Waterfall countertop ends change the base width because stone occupies the visible end plane. Coordinate this detail with the fabricator. The final drawings should show panels, outlets, supports, fillers, and door widths.
Anchor and Level the Island Correctly
Secure the island to the building so it cannot slide or tip. Open drawers, leaning users, and heavy appliance doors all apply force to the base. Installers often fasten cabinets to floor cleats or a structural platform.
Choose fasteners that suit wood or concrete substrates. Do not use brittle drywall screws as cabinet installation screws. Use structural or cabinet screws rated for the specific connection.
Locate pipes, cables, radiant heating, and hidden services before drilling. Then level the cabinet run in both directions. Align the cabinet faces before fastening adjoining boxes.
Place shims beneath structural cabinet sides or the platform, not beneath thin decorative skins. Clamp neighboring boxes flush before joining them. Keep screws away from drawer slides and utility paths.
Large stone tops and multi-cabinet islands usually require at least two installers. Professional installation reduces the risk of injury, cracked stone, and weak attachment. Finish leveling and anchoring before the fabricator creates the countertop template.
Avoid Common Island Planning Failures
The most common mistake involves choosing the island size before planning circulation. Measure countertop projections, handles, end panels, stools, and open appliance doors. Cabinet-box dimensions alone do not show the required floor area.
Oversized islands can create an unreachable center, especially with back-to-back cabinets. Poor storage plans rely on basic door cabinets for every opening. Specialized pull-outs also waste space when they do not fit the intended objects.
A cooktop facing seating exposes diners to heat, grease, and pan handles. It also increases ventilation and clearance demands. A sink centered for appearance may leave no practical position for the dishwasher or trash.
Unsupported overhangs and unanchored cabinets can cause injury or expensive damage. Drilling without checking beneath the floor creates similar risks. Structural steel, slab drilling, gas work, and new circuits require qualified trades.
Finalize the Island Base Before Countertop Templating
The best kitchen island cabinet base provides enough work surface, storage, seating, and appliance space without restricting movement. Start with standard cabinet modules. Then add panels, fillers, handles, supports, and countertop projections to calculate the finished size.
Mark the full footprint in the room and test nearby doors and appliances. Assign a purpose to every cabinet. Verify interior dimensions for cookware, fittings, plumbing, and drawer slides.
Resolve utility routes before installation and use licensed trades where local rules require them. Ask the countertop fabricator to approve overhangs, supports, seams, and cutouts. Finally, level and anchor the cabinets before templating.
The template should follow the installed casework rather than an untested drawing. Careful sequencing prevents costly adjustments. It also produces an island that works naturally with the rest of the kitchen.